I made this card for my Mom’s birthday – she turned 81
yesterday. My Mom is sight impaired due
to untreated glaucoma and I am always looking for ways she can use her other
senses when I make her something. So, this card has a bunch of things she can
feel as well as see. Sadly, this also
my last post with the Design Team for Globecraft & Piccolo. I have had a marvelous time and I wish them
continued success! Thanks to my awesome
teammates and to Stacey & Sandy for making the experience so incredibly
fun!
What I Used to Make this Card:
3D Gel in Rose Pearl & Leafy Green
DCWV Chalk Art Stack – card base 5 ¼ x 5 ¼
Silhouette Cameo letter cutouts
Ranger Embossing Powder in Rich Red
White Cardstock
 | |
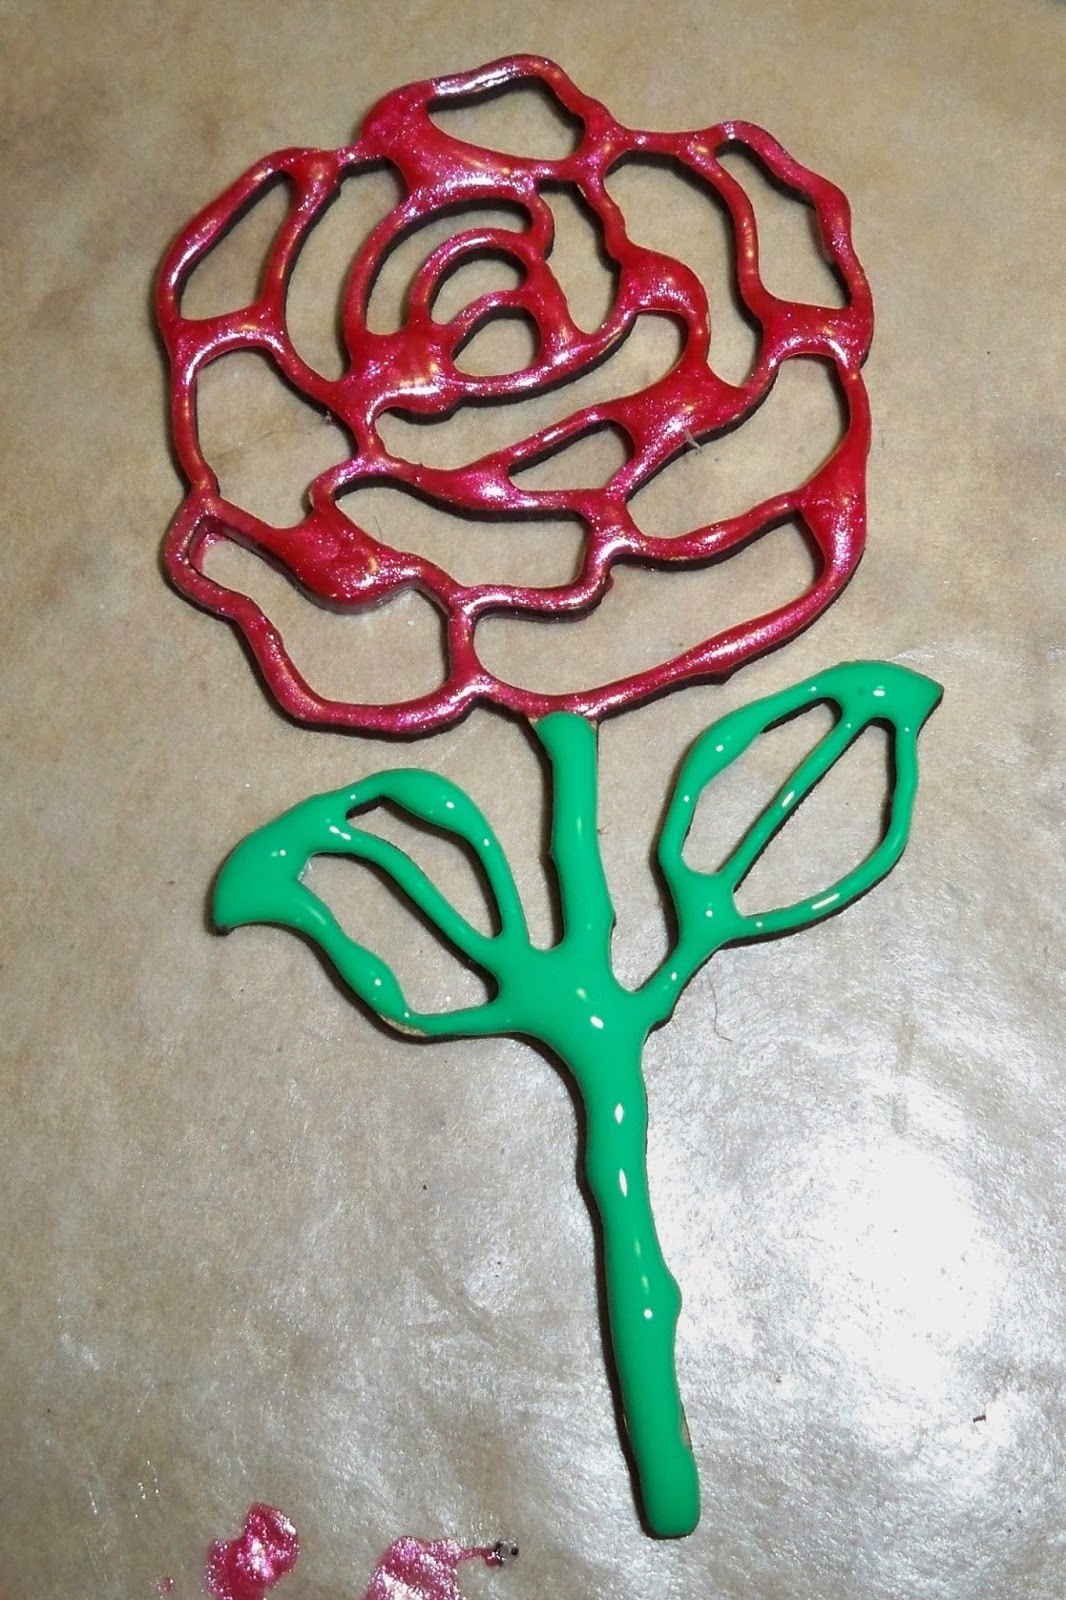
| Mom loves roses |
I confess I had covered the rose long before I made the
card. I knew the 3D gels would be
beautiful on the chipboard and I made a few of them. I tried to trace around the rose as carefully as I could (I can’t
find my metal tip. I suspect one of the cats has taken it. Actually, I am positive one of the cats took
it) but I actually ended up covering the rose sort of like when you grout
tile. Because I didn’t need it to be
absolutely perfect, I just filled in spots with more 3D gel after it
dried. Since the gel is amazing, you
can’t even tell and I was open to some more texture anyway. So, cover your rose and let it dry overnight
if you can.
 | |
| One of the roses |
Then I discovered how brilliantly the rose fit into the French Oval Frame. Now, the cardstock is also very bright, not neon bright, but bright.
 |
| Close up of the French |
I cut my card base out of the DCWV Chalk Art Stack – that
paper is thick!! I made a square card since I had so much to put on it and I
wanted Mom to be able to touch the cardstock; it has a texture to it so it can
be used like a chalkboard (you can even wipe the chalk off). So cool!
 |
| It's STUNNING in real life!! |
To keep the theme going, I used my
Silhouette Cameo to cut out Happy Birthday (I also discovered a neat trick –
when your letters are still on the cutting mat, before you remove them, use a
bit of washi tape that is long enough to grab all the letters, then gently use
your tool to remove them. Now, when you
go to place them, they are all straight!)
Next I just traced the inner circle of the French Frame and
cut it outside the trace line so there would be a little bit of paper to use to
attach the it to the frame. Positioned my rose in the center of the white
cardstock, and then glued the whole shebang to the front of the card. Lastly, I put the Happy Birthday on the inside
of the card since I didn’t have enough room on the outside.
So there you have it!! Mom and I met yesterday to celebrate
our birthdays over lunch & she LOVED the card (of course)! Sorry no other view of the card! I hope you have enjoyed my birthday card – I
still have one more birthday to celebrate, so keep your eyes peeled! Thank you
& have a lovely day! Christi
I would like to enter my Birthday Card in the following challenges:
Use Your Stuff -#141, Texture
Rhedd & Rosies - #35, Anything Goes
Simon Stamps Wednesday Challenge - Anything Goes!
613 Avenue Create - #77, Anything Goes w/ Option of Pink
Creative Fingers - #41, Anything Goes
Crafty Catz - #237, Anything Goes
A Creative Romance - (June) Anything Goes w/ optional Birthday Twist
Craft Your Passion - Bold & Beautiful

No comments:
Post a Comment
Thank you so much for your comments! I read each and every one :)