Followers

Showing posts with label Prima. Show all posts

Friday, November 5, 2021

River of Creativity's November Challenge "The Gift"

Hi all!! I took this month's challenge at River of Creativity literally and made a gift :) I don't exchange holiday gifts with my family, my mother is blind so she can no longer appreciate my art {and she has more clothes than she can wear!}, my brother, well, he's my brother and while he will admire what I make he really couldn't care less and my sister has become my biggest cheerleader.  I made this shadow box for her as she decorates for the holiday {I mean it looks like every holiday icon has thrown up in her apartment}.  Since we have so many cats I no longer decorate for the holidays - if I like something it stays up all year long and most of that is not really in the spirit of the winter festivities.  Anyway, I made this little shadow box as a gift, hence it fits the challenge :) I hope you have made something that fits the challenge; we are fairly easy and if you are stuck these prompts might help: the gift of your art, your love or just sharing appreciation for the changing season.


I began the box {that I found in a big box store for, get this, .99!! You can get yours by following this link} by getting a piece of packing foam and cutting it down to the size of the snow drift I
wanted in the box.  The material I used isn't Styrofoam, it has some give to it and it

isn't as dense; plus {BIG PLUS} you don't get all those little pills everywhere from cutting it. Once I had the piece in the right size I literally slathered it with Multi Medium Matte just using my fingers.  I then used "snow" I purchased from the Dollar Tree.  I set that aside to dry and painted the box white, waiting overnight for them both to fully set and dry.  Once the box and the hill were dry, I glued the hill into the box and added the blue sky using a dry brush and Blue Violet Opal Magic Paint.  Next, I added the trees {also a Dollar Tree purchase}, the trees came on little wooden circles but I just unscrewed them so I used just the tree. I made the little house out of cardstock using the dies from this Lawn Fawn set, and the sentiment is also from Lawn Fawn.  I had all the little sparkly and clay snowflakes in my stash as well as the snowflakes on the sides of the sentiment; they were actually buttons and I just snipped off the shanks! 

I hope my sister likes her gift; I am sure she will, and if she doesn't, she won't tell me LOL. I also hope I have inspired you to join us for the Gift challenge at River of Creativity - we happily take ALL crafts! Hope to see you there ~ Fondly, Christi 

I am entering my gift to the following challenges:
TTCRD - Anything Goes
The Holly and Ivy Christmas Challenge - Anything Christmas Goes
Country View Challenges - Christmas Gifting
Moving Along with the Times, #136 - Anything But a Card (entry 2)
Classic Design Team Challenge, #11 - Anything Goes
Pearly Sparkles Challenge, #68 - Merry Christmas
Simon Says Stamp Monday Challenge - Any Holiday Occasion
Lawn Fawnatics, #112 - Make the Sentiment the Star


PS: If you'd like to see my other Shadow Boxes, here is the Fall one {it lights up!}
and here is the Halloween one :)


Sunday, August 16, 2015

CELEBRATE with Anything But a Card's Final Challenge

It's with mixed feelings that I write this post.  I'm thrilled to have been on the Design Team for Anything But a Card since November of 2013; it was my first design team ever and due to my fellow teamies and Susan Brown's encouragement, humor, help (lots and LOTS of help) I have been blessed with designing for a few more manufactures and such.  I have always loved making things other than cards and this experience definitely enabled me to learn, experiment and grow as a person and a crafter.  So, before I get started on my project I want to shout out to all my fellow DT's, both past & present and to all the beautiful creations that people have entered! Now, as you see, the theme for this last month is Celebration.  I hope you can make a Celebration project and join us. You still have until September 6, 2015 to whip something up and join us (and keep checking the Anything But a Card blog, I hear there may be some surprises in the works!). My favorite holiday is Halloween, so I made this wall hanging to celebrate my favorite holiday:


What I Used to Make my Project:
White Memory Tray - postcard sized squares (I painted it black)
Graphic 45 Papers in Steampunk Spells & Rare Oddities
Rare Oddities Journaling & Ephemera Cards
Retro Art Cafe - Pumpkin pods, paper skeletons, skull cameo, chipboard feather, acrylic black cat & bat 
Prima Resin Frames #572372
Tim Holtz Sizzix Small Bird & Cage Die Set #657207
Tim Holtz Simple Sayings Set, #CMS155
Blood Drip stamp is from Viva Las Vegas!
Potion Bottles from The Porkchop Show
Plastic Bone, Black Cat Kittens & Fiber (stash)
Distress Ink in Frayed Burlap (colored embossed bone & edged sign)
Wendy Vecchi Archival Ink in Potting Soil (colored resin frame)
Ranger Embossing Powder in Rich Red
Homemade Embossing Powder (SU! Black & Hologram Highlights mixed, used on feather)
SU! Antique Ivory Embossing Powder (on the bone)
Clear Embossing Powder

I figured it would take me too long to explain this piece step by step, plus, I worked on it for about 3 weeks (on and off) and can't recall them all, so, I am just going to explain some of the embellishments.  Every square uses either Steampunk Spells paper, Rare Oddities paper or Rare Oddities Journaling & Ephemera Card for the background. 

Square #1 "Ravens" - I used a piece of flower stem from my backyard for the tree & mixed my own embossing powder for the feather. Also, the Raven Feathers advertisement is a Rare Oddities Journaling & Ephemera Card.

Square #2 "Cats" - I think the little blood drip is awesome. I admit, I was nervous that I would mess the paper up (I hoard Graphic 45 papers like crazy), but it came out fine. Whew!
Square #3 "skull" - I antiqued the Prima frame with Frayed Burlap ink, but I was concerned about it drying, so I threw a bit of clear embossing powder on it. 

Square #4 "Happy Halloween Sign" - it took me forever to get the plastic bone covered with the embossing powder, but I am really happy how it came out.  I had originally wanted the sign to hang freely, but the fiber was creased, so the sign is glued to the background. This is what the bone looked like when I started next to the finished bone. 

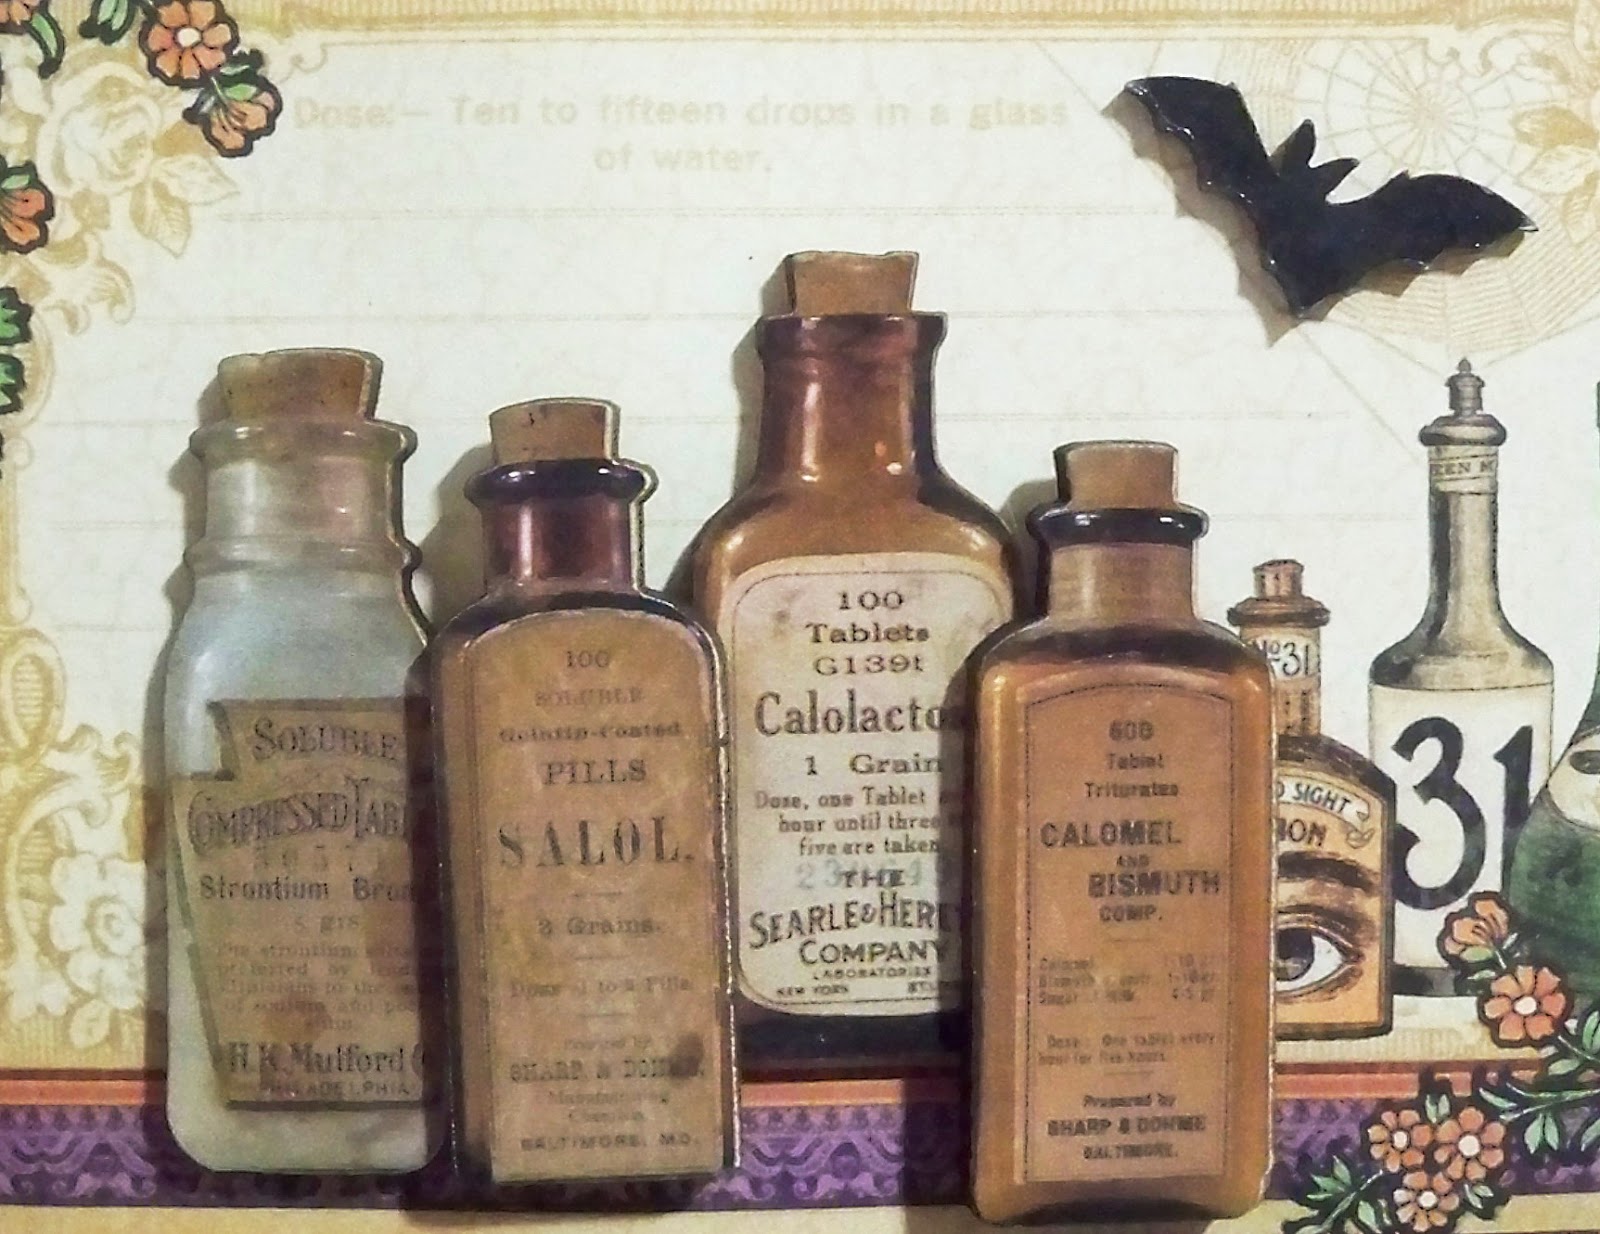
Square #5 "Potions" and Square #6 "Skeletons" are fairly self explanatory.  I loved making this to celebrate Halloween - it's never too early to get your freak on! 


Another Look
Thank you so much for stopping by & please consider following me. I am on a mission to get 100 new followers in the year 2015 (i'm almost there!).  I hope you have many reasons to celebrate! ~ Christi

I am entering my Halloween Wall Hanging in the following challenges:
My Sheri Crafts - #163, Show Me Your Decor
Simply Create, Too - #92, Anything Goes
Simply Papercraft - #11, Anything Goes
Quoth the Raven, Nevermore - #47, Pick Any 3
Decorate to Celebrate - #106, Anything Goes
Crafty Gals Corner - #32, Any Holiday