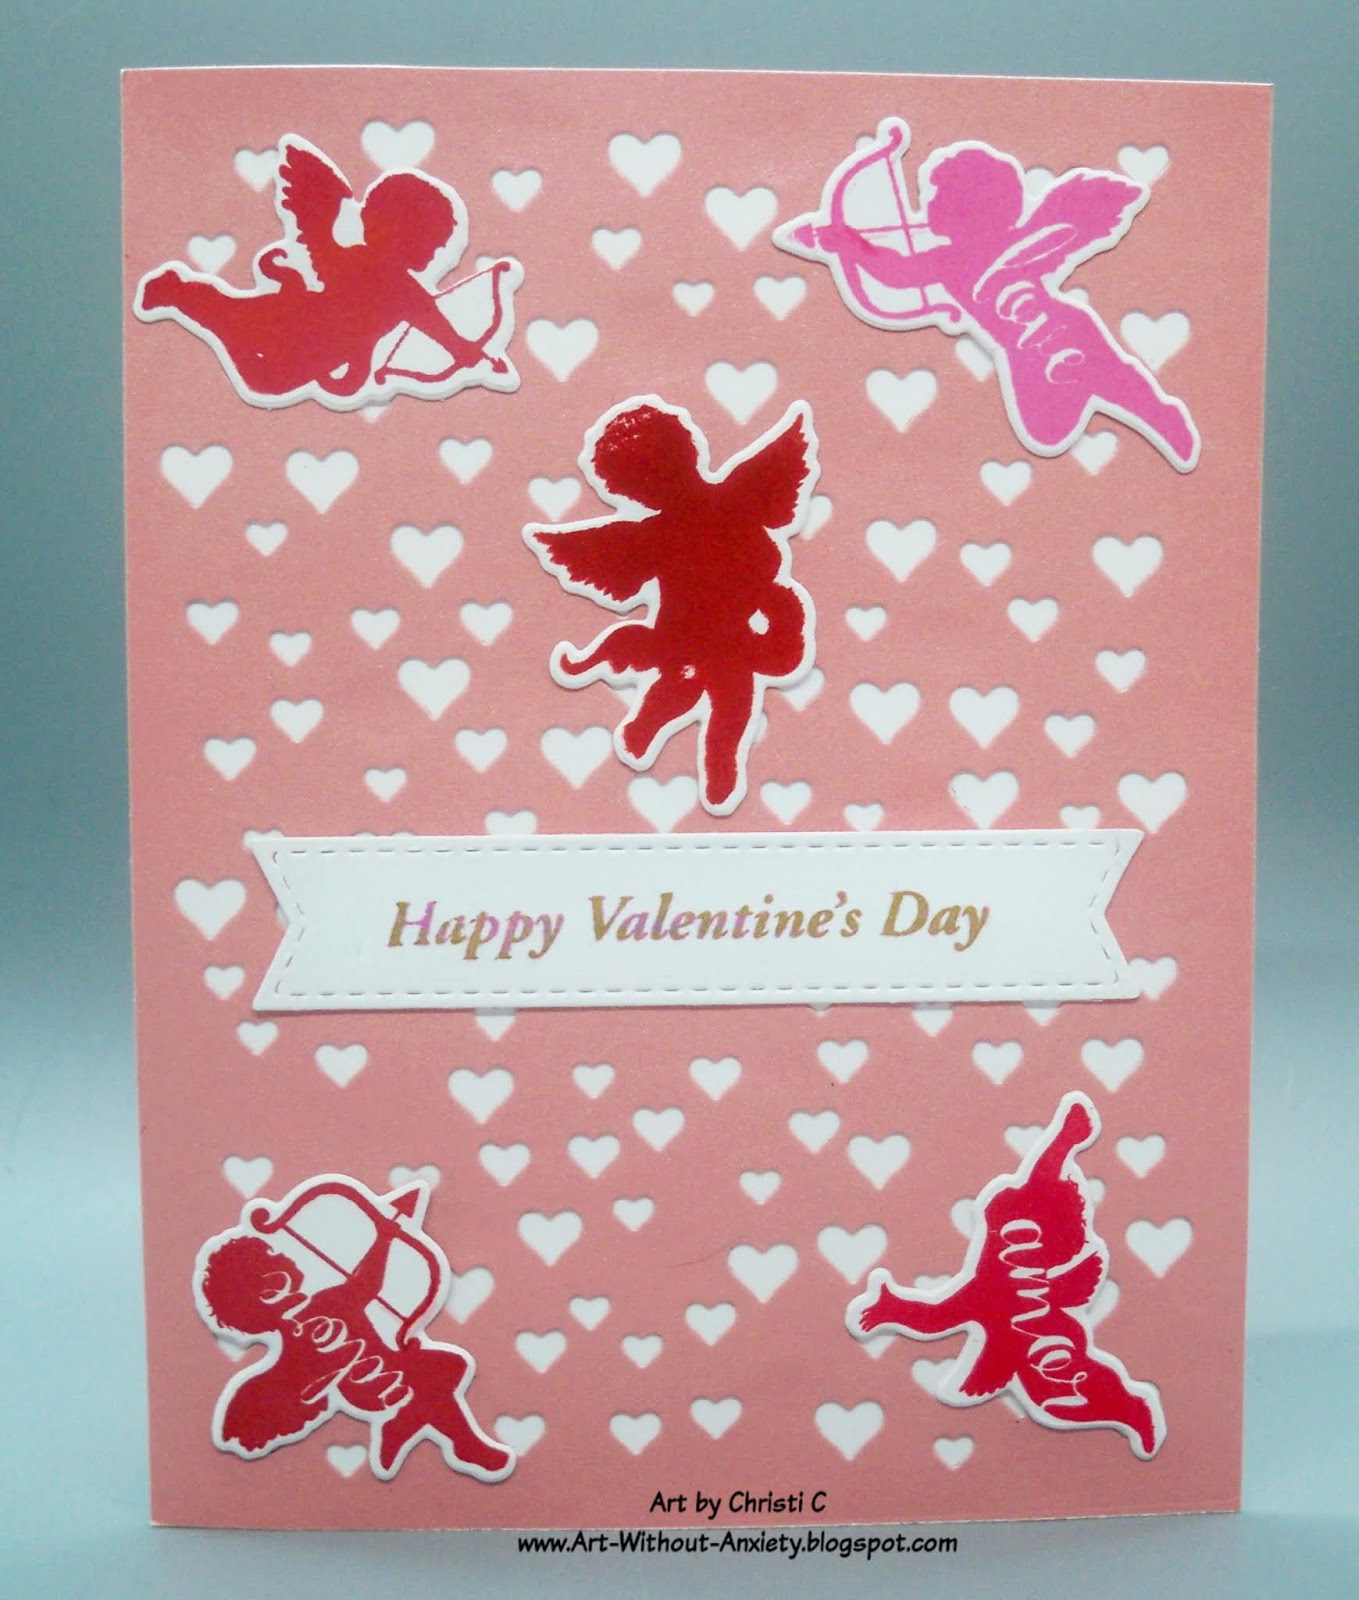
What I Used to Make my Card:
White Card Base
Pink Shimmer Paper
Hero Arts Heart Confetti Fancy Die, #DI348
Hero Arts Cherubs, stamps, #CM211
Hero Arts Cherubs, dies, #DI442
Die Namics Fishtail Sentiment Strips
Hero Arts Ink in Pink Tourmaline, Strawberry, Bubble Gum and Red Royal
Colorbox Petal Ink - Alchemy {any shimmery gold will work}
White Card
I began this card by stamping a whole bunch of cherubs on some plain white card. Them I cut them out and chose the best ones for the card. I tend to be a hard stamper and sometimes the little details get lost when I'm using clear stamps {while Hero Arts uses photopolymer for their stamps, it honestly doesn't seem to matter what material is used to make the clear stamps; I just stamp too darn hard!} the words inside the cherubs kept getting smooshed away and I had to really be aware of the pressure I put on my stamp platform. I have to get over that feeling that the harder I stamp the more ink will stick to the paper; it's simply not true! It's a leftover issue from using the old wood mounted, red rubber stamps and only having one chance at making a good impression.
Once I had all my angels cut, I stamped the sentiment. I stamped it first in a very light pink and then over-stamped it with gold. You can't really tell in the photo but in person it looks really cool, in my opinion. I tried to capture the dual tone in a photo, but it didn't come across the way it looks in real life I hope you had a fantastic Valentine's Day and I hope to see you soon! Fondly, Christi
I am entering my Cherub Love card in the following challenges:
A Blog Named Hero - M, Love is in the Air
Crafts Dreamy Mood Board Challenge - M, See Board Below
Creative Crafty Cottage - #115, M, Valentine
Simon Says Stamp Wednesday Challenge - Anything Goes
Little Red Wagon - #486, Love It!
Crafting by Designs - Silhouettes
Double D Challenges - Pink & White
Shopping our Stash - February