I say NEVER! For this
Globecraft & Piccolo post I decided to beat the heat by making a holiday
ornament. Using one of the Ornament Kits (in addition to the kits found on the linked page, there is the DIY Portrait Ornament and the DIY Landscape Ornament) make it SO easy and really fun, but my favorite is using one of the 2 DIY kits, like I did here. I
wanted an icy feel to my ornament, hoping that keeping cool could be a bit of
mind over matter!
 |
| The final ornament - pretty, but I'm still hot! |
What I Used to Make My
Project
Fishing Line or Craft
Filament (I used jewelry cord, clear)
 |
| The kit with the piece from Bejeweled Snowflakes |
First thing I did was cut
my long snowflake border from the Bejeweled Snowflake Set in half – there are 8
little snowflakes on each strip, so I just snipped it into 4. Then I applied the Embossing Fluid and
embossed the strip with Aged White Embossing Enamel, both front and back.
Then I embossed the inner
circle of the ornament – the inner piece is the
piece in the kit that has the
loop on the top to hang the ornament. I
just pounced my Embossing Fluid along the outside of the ring (super easy since
the Embossing Fluid uses a dauber on the top of it – you never get too much or
too little! Just don’t squeeze your bottle as it will explode – or so I hear - hehehe)
since I knew once the ornament is assembled you can only see a small bit of the
ring; I embossed the inner ring on both sides.
Then, I threaded the cord through the very top of the snowflake strip
that I had cut so that the ends of the cord could be glued to the inner ring
and the strip would hang correctly. For
that I used E6000 and I did one piece of string at a time (for me that was
easier than trying to line the filament up on both sides, ensure the strip was
even, then try to glue both ends of the cord – it became like a game, with me
fighting against everything. So, I
surrendered and did each end separately).
 |
| Inner bezel with snowflake piece |
 |
| All the pieces embossed, attached & ready to assemble (except the globes) |
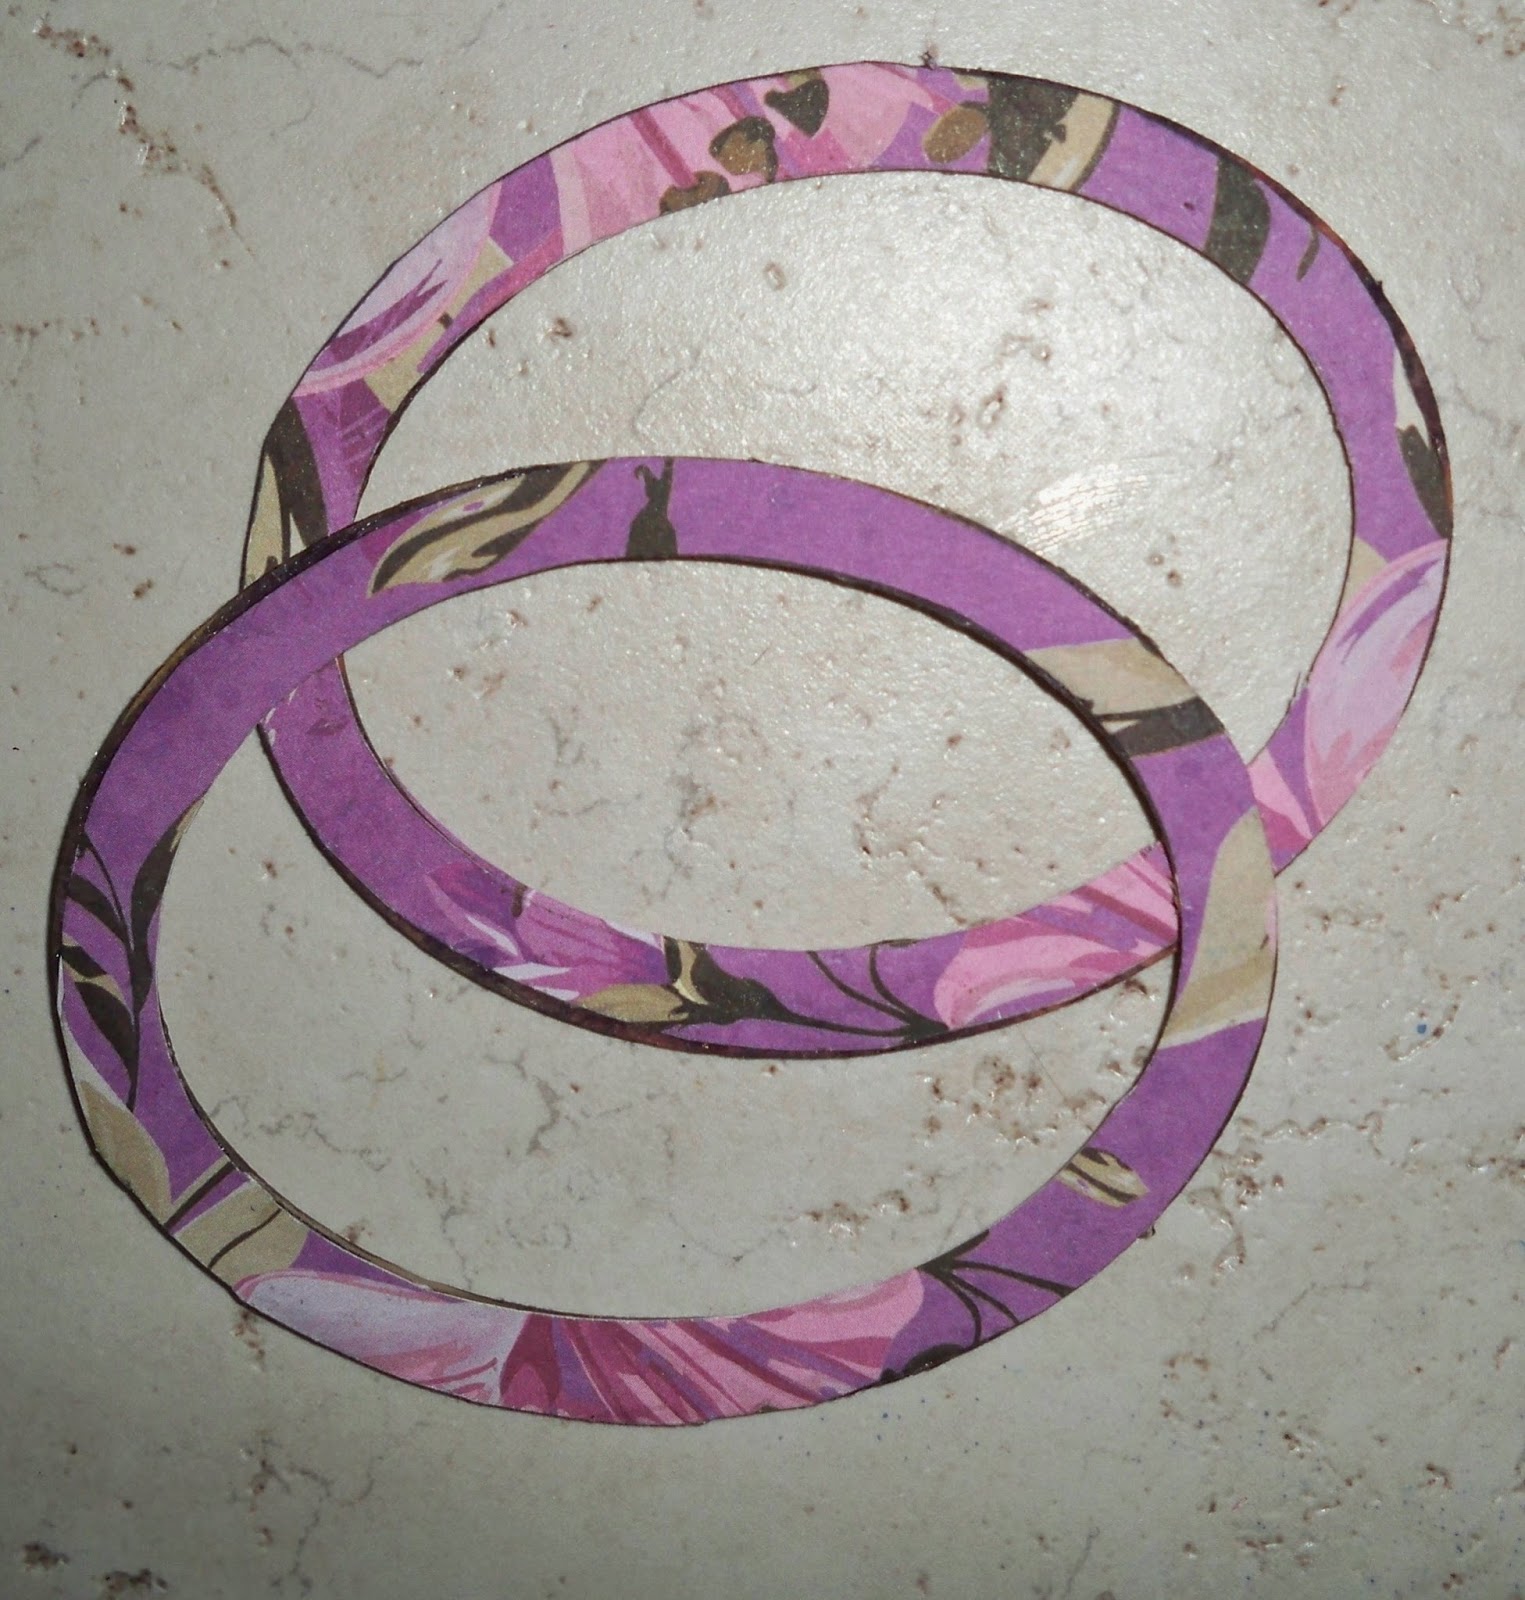
While my hanging piece was
drying, I embossed the 2 outer rings with Mermaid Tears, being sure to roll the
Embossing Enamel to shake up the enamel.
The Globecraft & Piccolo Embossing Enamel is hand blended in the USA
and each color is so unique – the Mermaid Tears is such a pretty mixture of
colors! I did one side of each of the
outer rings, but I did emboss each side twice.
Then I glued the globes and the rings to the inner ring, lining it up
and clamping them together with bulldog clips.
I let it dry overnight and I was done!
 |
| Another look at the final product (hard to get those bubbles to photograph!) |
Also, another great use for the bubbles is to use them as "shields" - when you have items drying, perhaps with Glastique Gloss, you can place a bubble over the item and that helps to keep the cat hair, human hair, Embossing Enamel and all the other floaties out of your finish. Thanks so much for
stopping by – I appreciate your comments and sharing of my posts so much! Hope
you have a fantastic weekend! Christi
I would like to enter my project in the following challenges:
Love to Create Challenge Blog - #120, Anything Goes
Simon Says Stamp Monday Challenge - Anything Goes!
Craft Hoarders Anonymous Challenge Blog - #10, Spray it! Ink it! Smear it! Emboss it!
All Crafts Challenge - Anything But a Card (June/July)
Crafting from the Heart - #23, Anything Goes
A Creative Need - (June) Anything Goes
I would like to enter my project in the following challenges:
Love to Create Challenge Blog - #120, Anything Goes
Simon Says Stamp Monday Challenge - Anything Goes!
Craft Hoarders Anonymous Challenge Blog - #10, Spray it! Ink it! Smear it! Emboss it!
All Crafts Challenge - Anything But a Card (June/July)
Crafting from the Heart - #23, Anything Goes
A Creative Need - (June) Anything Goes