The current challenge over at Anything But a Card is a seasonal one; you can choose between "Autumn Magic" and "Spring Wonder". Since fall is my very favorite time of year, with my very favorite holiday smack in the middle of the season, I chose to work with "Autumn Magic". What is more magical than Halloween? How about a skeleton in a cemetery? OK, so not exactly magical, but I had so much fun making my Skeleton Cemetery Shadow Box that I had to share it!
 |
| The cool stand with the skeleton heads isn't part of the box - but it's awesome isn't it? |
What I used to Make this Project:
Tim Holtz Configurations Box - 5 3/4 x 5 3/4, TH92883
Big Shot machine
Tim Holtz Mover & Shakers Die, Vintage Cabinet Card Mini, 657206
Scraps of Grey (various shades) & White cardstock
Scrap of Chipboard
Skeleton (Dollar Store)
Wendy Vecchi Archival Ink in Potting Soil
Somerset Studio paper "Dark Woods"
Distress Paint in Gatherd Twigs
Tim Holtz Mover & Shakers Die, Mini Bat & Skull Set, 657458
Pumpkins (I got mine from Alpha Stamps)
2 Small Red Gems
Dresden "Arch" - black
Embellishments
Crafters Pick The Ultimate Glue
 |
| Almost looks like wood |
 First, take all the little boxes out of the configuration
box and set aside. You won't be needing them now but won't they make cute
Holiday Ornaments? Then paint your box with Distress Paint in Gathered
Twigs, I just used the sponge dauber on the bottle and rubbed it all over the box, both
inside and out. I took the Somerset Studio paper and cut it to size so it
would fit in the box, covering the back wall and the sides.
First, take all the little boxes out of the configuration
box and set aside. You won't be needing them now but won't they make cute
Holiday Ornaments? Then paint your box with Distress Paint in Gathered
Twigs, I just used the sponge dauber on the bottle and rubbed it all over the box, both
inside and out. I took the Somerset Studio paper and cut it to size so it
would fit in the box, covering the back wall and the sides.
 |
| The Mini Cab Card Die |
I discovered the tombstones by messing about with the Mini
Vintage Cabinet Card die. I noticed if you trim down the sides of the die
cut you can make some pretty cool tombstones. So that is what I
did. I actually made 3 to use, but I ended up using only 2. The
white stone was to be my focal point because the skeleton fit nicely behind
it. I made the tombstone names in Word and printed them on cardstock and
trimmed them to size, as well as the
other shade of grey I used behind the
names (in case you can't read them, the white tombstone says "Eve L.
Minion" and the grey reads "Reid N. Weep"). I also drew
some cracks into the grey tombstone using a Micron Pen and aged the white one
using Wendy Vecchi's Potting Soil ink (truthfully, I wanted the white one
to stay white, but I got a bit of the Gathered Twigs paint on it after it was
all ready to go and there was no way I was making another one. Don't tell
anyone).
Next I fixed the tombstones so they'd be sturdy enough not
to bend. I had already cut them out of cardstock, and I considered re-cutting
them out of chipboard, but then I decided to make chipboard
"brackets" to glue on the back of them that would be fine. At
the bottom of each tombstone I bent a small lip and attached the bent strip of chipboard
to the back of the stone so the
bottom was a longer lip (and stronger) part of the chipboard was available to glue to
the scene (picture a long L made of chipboard). Shockingly, it worked like a charm! No one was going to be poking or
touching the stones, so they didn't need to be seriously anchored down.
Next was attaching the skeleton to the white tombstone.
 Since the skeleton was too tall, I snapped his legs off and
daubed him with the Gathered Twigs paint to age him a bit more. I really wanted
to get some dirt and roll him in that but I wasn't about to go out in the
freezing cold yard and try to dig some up - plus it was late (after midnight)
and we have a sensor light in the back of the house. So I settled for
some Gathered Twigs paint and dried him with my heat gun (the paint didn't
really dry on the plastic, so be careful! You don't want a situation like I had
above). I also glued some little red gems in his eyes, reminiscent of the
skeleton I used here. I draped him behind the tombstone and
set him up to dry overnight.
Since the skeleton was too tall, I snapped his legs off and
daubed him with the Gathered Twigs paint to age him a bit more. I really wanted
to get some dirt and roll him in that but I wasn't about to go out in the
freezing cold yard and try to dig some up - plus it was late (after midnight)
and we have a sensor light in the back of the house. So I settled for
some Gathered Twigs paint and dried him with my heat gun (the paint didn't
really dry on the plastic, so be careful! You don't want a situation like I had
above). I also glued some little red gems in his eyes, reminiscent of the
skeleton I used here. I draped him behind the tombstone and
set him up to dry overnight.
 I already had the bat cut out - it was cut out of chipboard
and painted black with acrylic paint. The pumpkins, black cat, cameo and
leaves are from my stash. I do have to tell you about these leaves. I am
not sure where I bought them, but they were made for people who make those
elaborate railroad displays and this bag has lasted me many, many seasons. The
Dresden arch came from a sheet I had gotten many, many moons ago. I was
tempted to hang a Happy Halloween" banner of some sort on the bottom of
the box, but, after consideration (and the fact that somebody wants to display
it all year long in his room) I decided to leave it off.
I already had the bat cut out - it was cut out of chipboard
and painted black with acrylic paint. The pumpkins, black cat, cameo and
leaves are from my stash. I do have to tell you about these leaves. I am
not sure where I bought them, but they were made for people who make those
elaborate railroad displays and this bag has lasted me many, many seasons. The
Dresden arch came from a sheet I had gotten many, many moons ago. I was
tempted to hang a Happy Halloween" banner of some sort on the bottom of
the box, but, after consideration (and the fact that somebody wants to display
it all year long in his room) I decided to leave it off.
 |
| And another look. Hope you enjoyed the tutorial! |
So there we go - my first ever Configurations box! I have been pinning them and drooling over how amazingly creative people have been using them, but I haven't had the occasion to actually use one (and I have a few more in the stash). I had a blast making it and the weight is so light compared to wood. And, as I said, those little divider boxes that I didn't use will make cute ornaments, in fact, the top and the acrylic cover will make a nice frame. . .hmmm. Better go write this down! There is still time to enter the "Autumn Magic/Spring Wonder" challenge at Anything But a Card - even if you don't want to enter, pop over and check out the amazing creations my teamies have made. We recently had a DT call and now we have so many creative people on board that you will want to check the blog at least once a week - trust me! Have a great day and thank you so much for stopping by. If not for you. my followers, I would have no reason to do this. Blessings to you & yours, Christi
I am happily entering my Spooky Skeleton Shadow Box in the following challenges:
Delicious Darkness - #3 (October Challenge), Anything Goes, optional Halloween Twist
Buckwells Crafty Challenge - #1 (October Challenge), Anything Goes
Altered Eclectics - (October Challenge), Anything Goes
Crafting at the Weekend - #6, (October Challenge), Anything Goes
Stuck on U Sketches - Die Cut Challenge, Anything Autumn
Open Minded Crafting Fun - #21, Pumpkins/Jack 'O Lanterns
Punk You Girl - (October Challenge), Anything Goes with an optional Halloween Twist
On another note, we are looking for some help over at Challenges for Days - it's really simple to help us keep the lists updated, you only need about an hour a week. Why not help others (and yourself) find some awesome challenges to enter? If you think you can help us out, please drop an email to our wonderful founder, Zoe (zoechaos@icloud.com). Even if you can't help right now, please take a look at all the exciting challenges we have listed and don't forget to bookmark us - we update the list daily and we are always adding new challenges!


 Square #3 "skull" - I antiqued the Prima frame with Frayed Burlap ink, but I was concerned about it drying, so I threw a bit of clear embossing powder on it.
 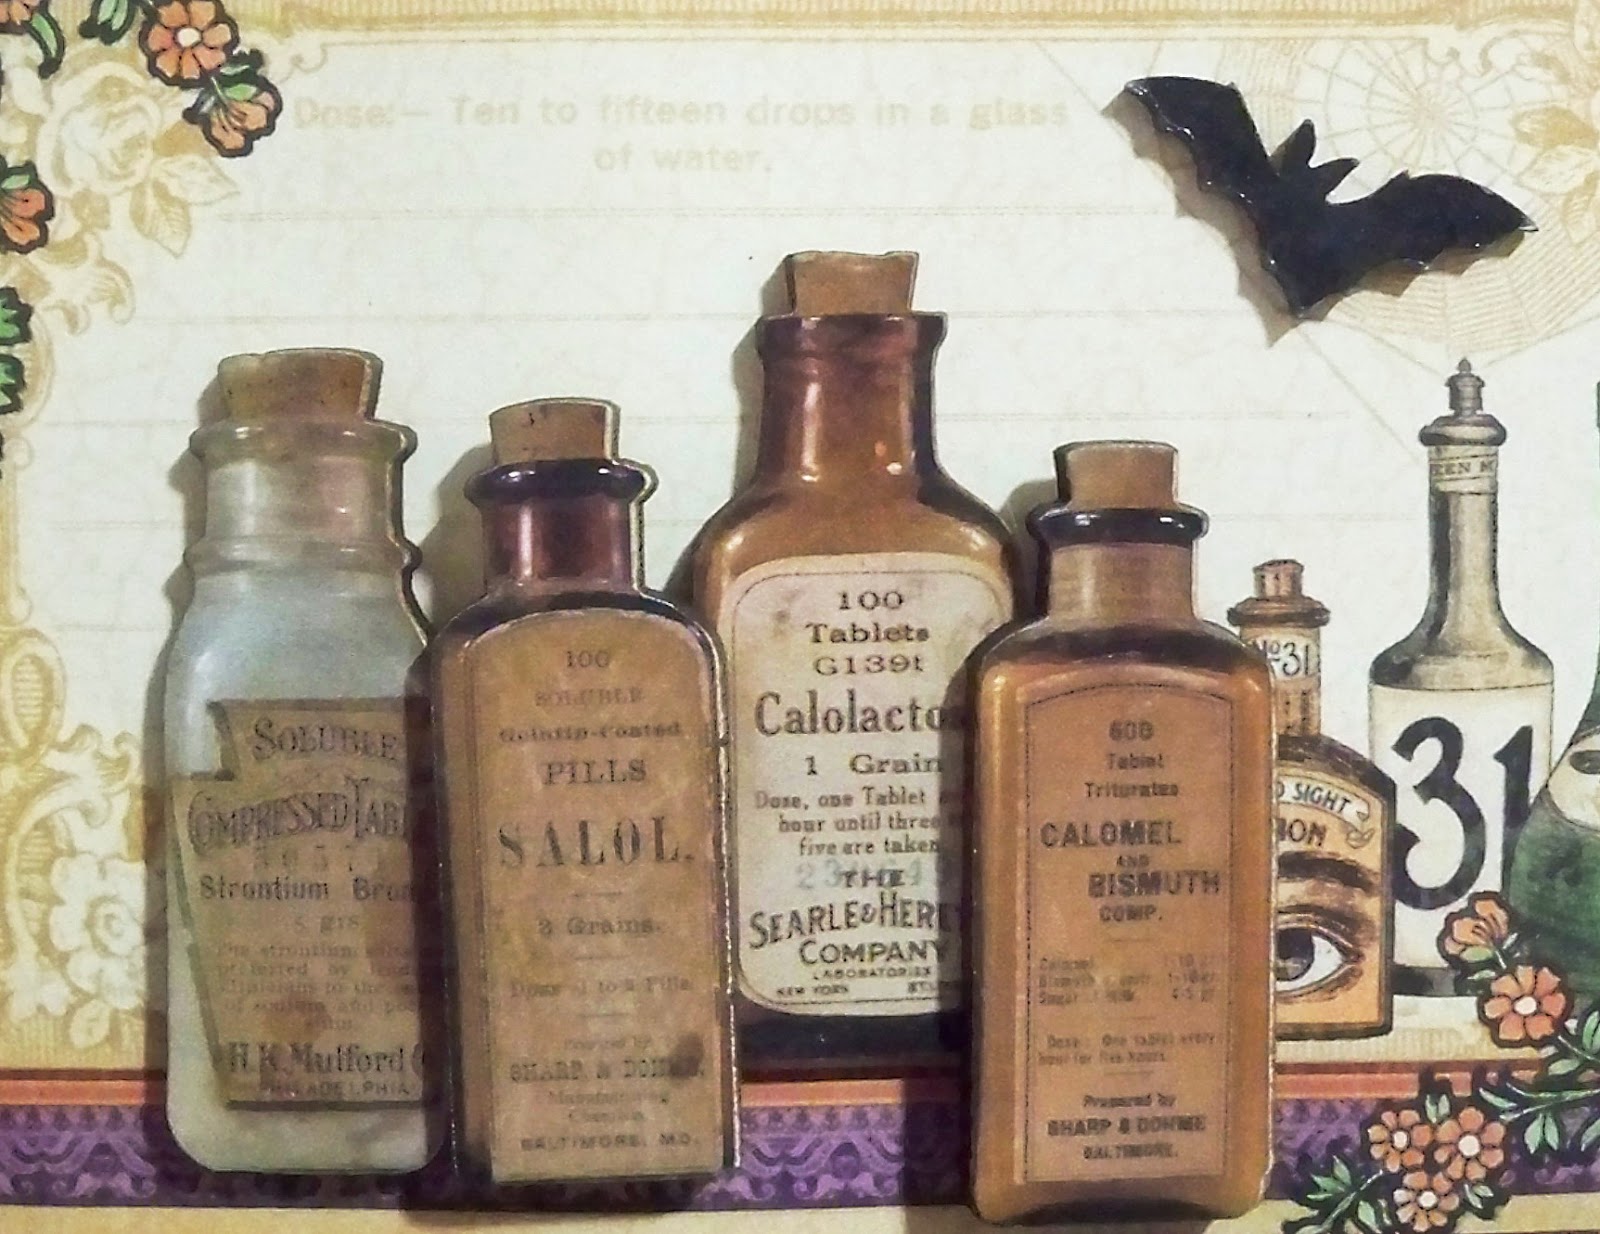 Square #5 "Potions" and Square #6 "Skeletons" are fairly self explanatory. I loved making this to celebrate Halloween - it's never too early to get your freak on!


