Followers

Showing posts with label Sequins. Show all posts

Wednesday, February 16, 2022

Hearts and Kitties

 Hi all!! I've made this cute Valentine's {even though you could give it any time of year; I was careful not to add any specific Valentines sentiments} card using Lawn Fawn stamps and dies; some older and newer sets.  I hope you like it!


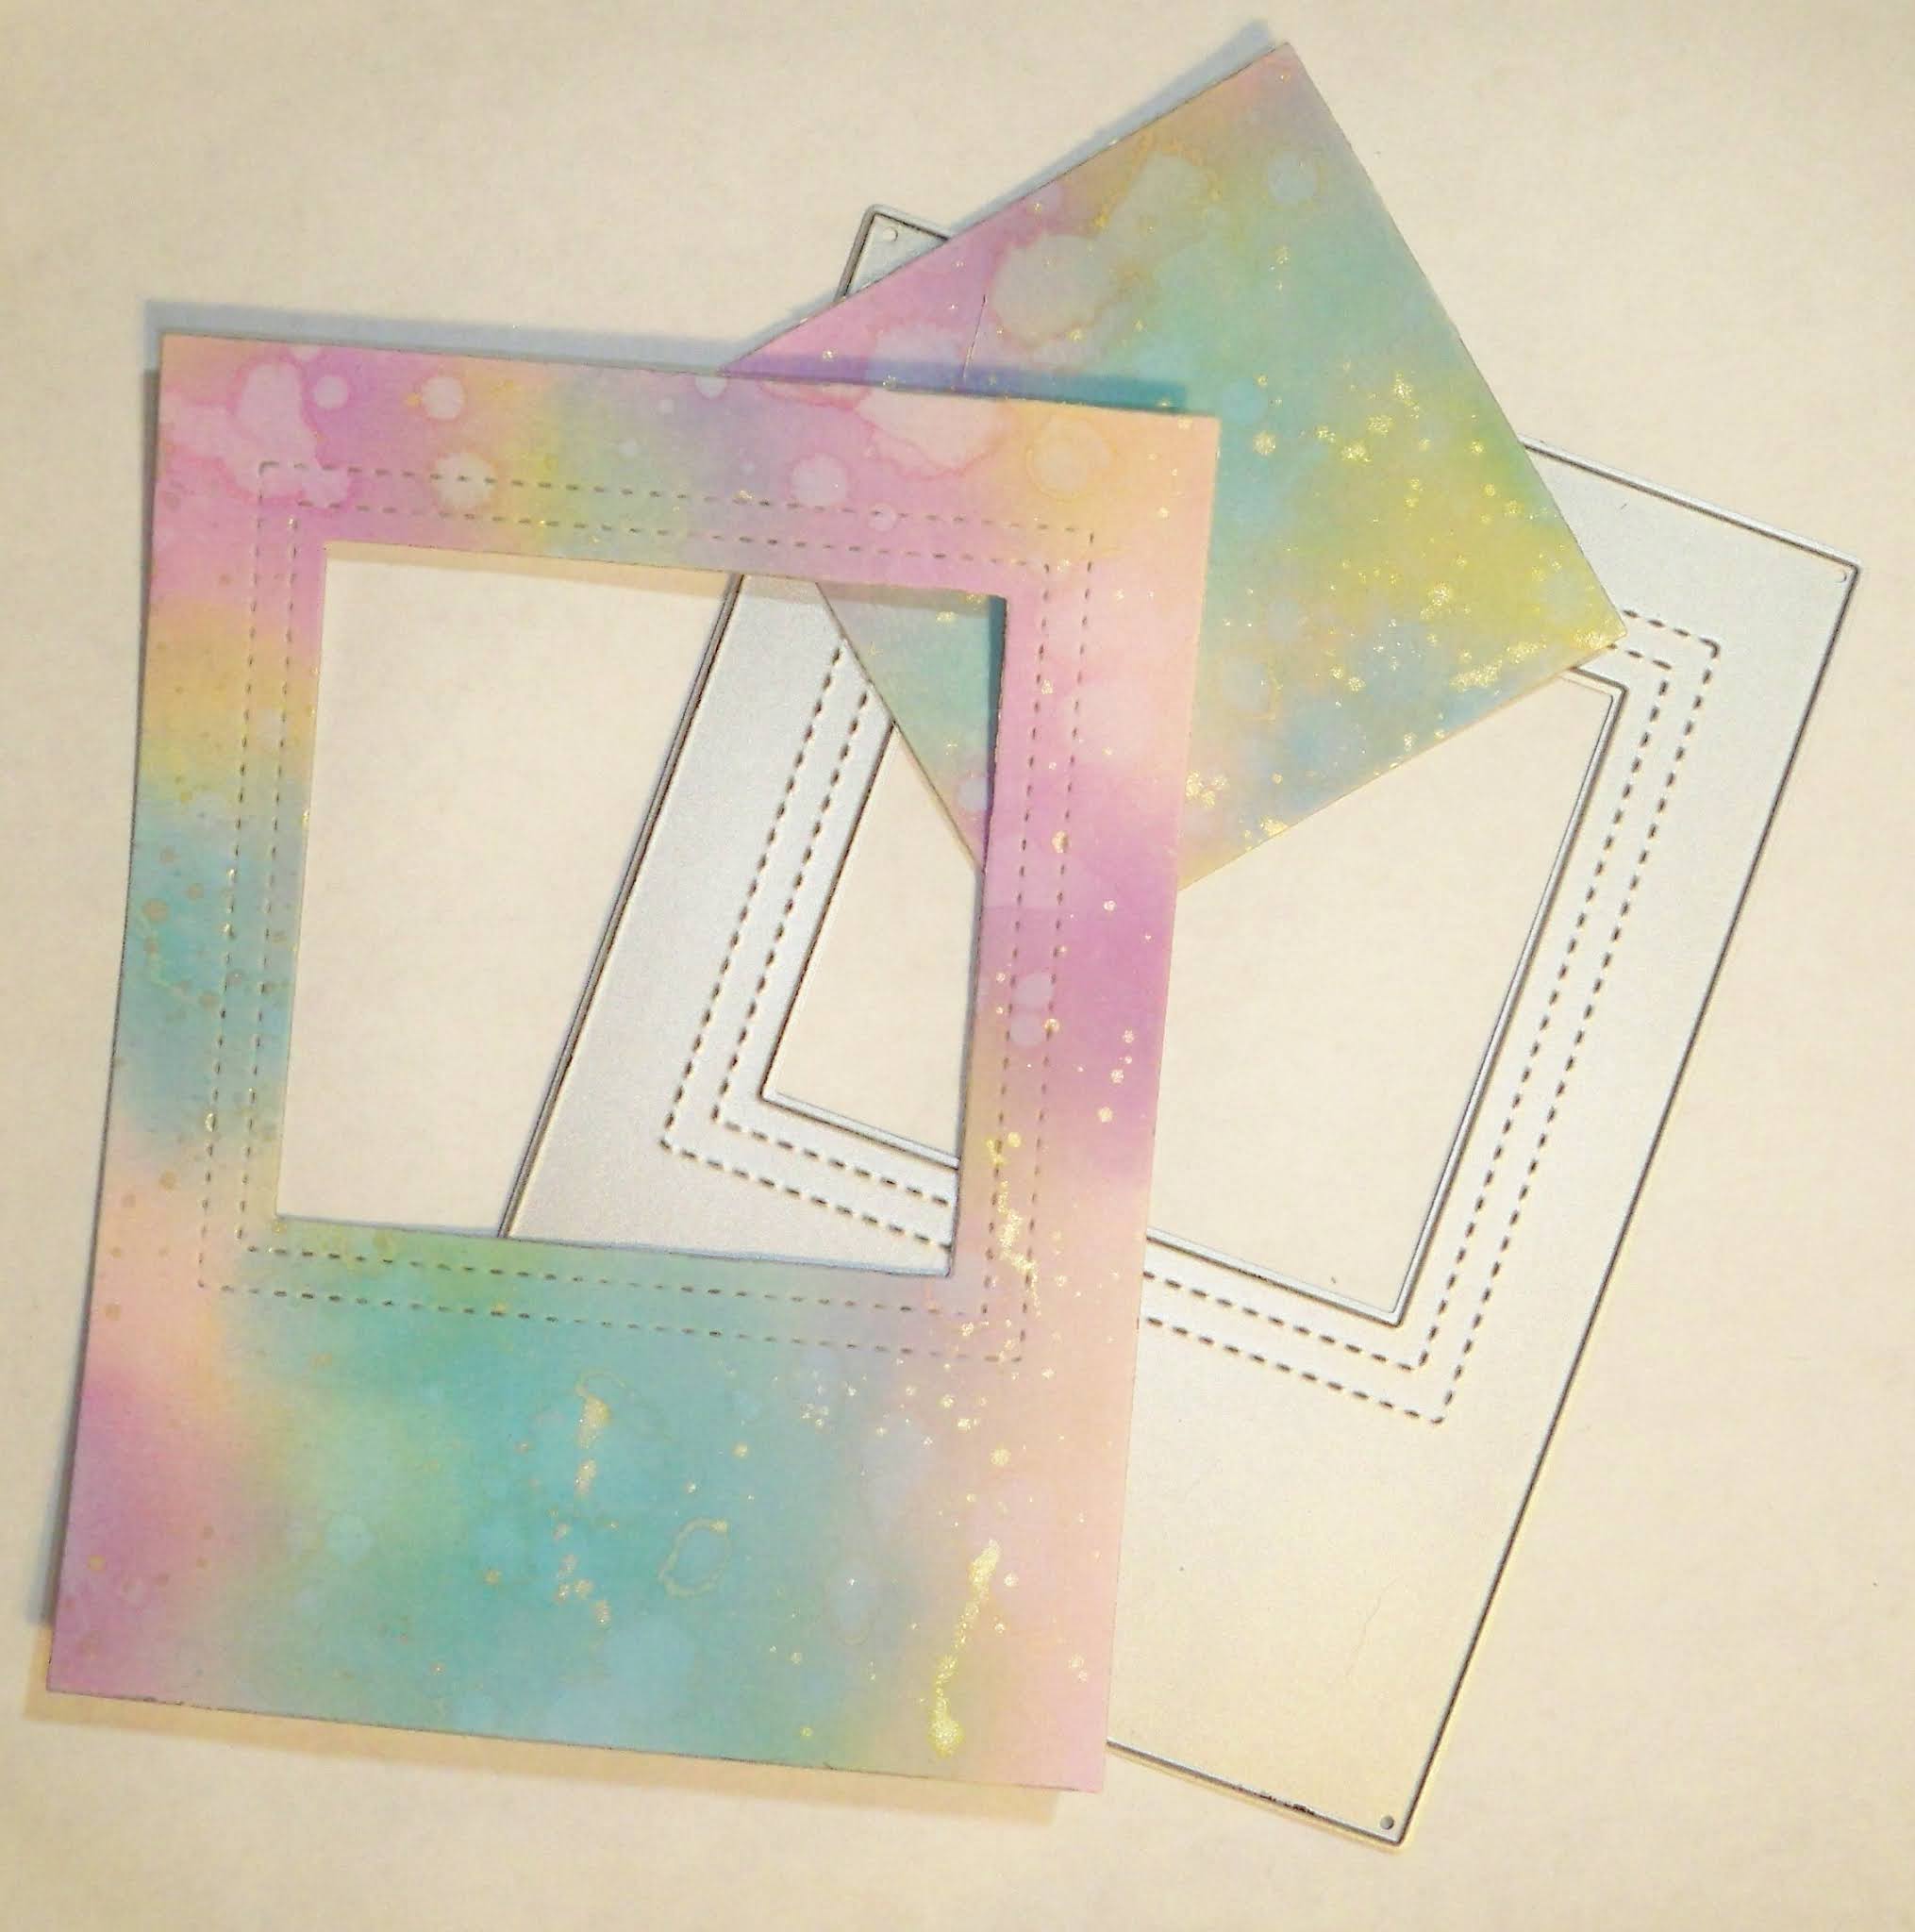
I started the card by cutting out the slimline panel using the Scalloped Slimline with Hearts, landscape out of dark pink paper, then I used the larger die and cut it out of lighter pink paper.  I also covered a white slimline card using a page from the Watercolor Wishes Rainbow paper pack.  Next, I stamped the curved hearts, from the Scent with Love stamps on watercolor paper, colored the with my Zigs and cut them with their coordinating dies.  I put them around the heart openings.  The kitties, from the Meow You Doin' stamps & dies, were already colored, cut and in my stash {I always have extra cats in my stash}.  I tucked the cats into the heart openings and put a few paper hearts cut from small hearts that are included with many of the Lawn Fawn sets {I can't recall what set I used, honestly, I have a bunch of them on my desk}.  I attached the hearts panel onto the pink scalloped paper, then used dimensional foam tape to pop it up onto the slimline card.  Lastly, I had stamped a few of the small sentiments from the Special Delivery set as well as the Scent with Love set.  I trimmed them down and added them inside the hearts.  Finally a few sequins were added and I was done.  

I had all these sets on my desk as I was to take a class {Love Letters} with the fantastic Jenn Shurkus; the class was originally on for he 5th of February, but they were getting a huge snow storm on the cape, so it was postponed to February 12. I decided to bite the bullet and order the copics she used in class, figuring I'd have them for the February 12th class, but the copics I had ordered never made it to my house, a case of "we delivered them" but *I* don't have them.  So, I am waiting for their delivery and hopefully I will be able to make the cards from the class and share them; thankfully Jenn allows you to access the class tape online along with your class fee so I can go back and take the class when the markers get here.  Ever notice that the more you want something the harder it is to get?  SO TRUE.  Also, the carriers have begun to take SO long to deliver items, not just one of them, all of them, things are taking 2 to 3 weeks that used to take a few days.  I am the type who wants their stuff before I order it and it's frustrating to no end.  But, it is what it is!  I hope you enjoyed my card, and I appreciate you listening to my little saga, and I thank you for stopping by!! Fondly, Christi

I am entering my card in the following challenges:
Simon Says Stamp Wednesday Challenge - Slimline Cards
The Funkie Junkie - Funkie Frilly Valentines
Sweet Stampers, #65 - Furry Friends
Dies R Us, #187 - Love & Hearts
A Place to Start, #202202 - Anything Goes, Twist: Include a Critter
SUYP, #75 - Anything Goes w/ Cats
Happy Little Stampers - Anything Goes With Dies


Double D - Shades of Pink


Friday, October 29, 2021

You are Spooktacular!

Hi everyone! This card was made with an older Lawn Fawn set and even though it's older, I think it's an adorable stamp set {the set was released in 2014!!}.  You can still buy this set from Lawn Fawn, or any place that sells their products but I was lucky to find the stamps and the dies on one of my de-stashing FaceBook groups.  


I started out stamping the bats on standard white cardstock, then filled in the background using the candies and stars from the Spooktacular set.  I left the bats black and white, coloring the other items with some Copic markers.  I trimmed the background and attached it to a white card with dimensional dots.  I stamped the sentiment with the same black ink I used on the background, Gina K's Amalgam ink in Obsidian on white card, cut it out with Stitched Rectangle Dies from Memory Box and layered it onto dark purple card which I then trimmed as well.  I have to take a moment and talk about this Amalgam ink - it is the only ink I have found that can be used for both water coloring and alcohol marker coloring.  Granted, if I am going to watercolor, I typically stamp on this watercolor paper, so it isn't as if I don't know what medium I will be using as I am making a card, but it takes out that little bit of worry wondering if the ink I have used will smear once I am coloring it.  The color is vibrant and the price point is right in line with most inks.  So I attached the sentiment to the card with dimensional dots as well, finishing the card off with some sequins I had in my stash and Stickles in the color Cosmic.  Stay tuned as I have another card I made using the same stamp set on the way.

While this card is a bit more juvenile than I typically make I am very pleased with how colorful and cheerful it looks.  I tend to lean towards the darker side of Halloween, so this was a nice break from the spookier side of the holiday. However, a friend did say to me that she feels things don't come much scarier than this overload of cuteness - fear not, the dark side is on the way :) Thanks for stopping by! Christi  

I am entering my card in the following challenges:
Lawn Fawnatics, #111 - Coffee, Tea & Treats {I used LOTS of Treats!}
Creative Knockouts, #425 - Anything Goes
Funkie Junkie Challenge - Grunge, Ghouls or Giggles {entry 2}
Creative Moments, #225 - Anything Goes
Daring Cardmakers - Halloween Inspired
Retro Rubber, #170 - Fallin' for Autumn


Tuesday, September 21, 2021

Sue WIlson Shaker Card

 Hi Dies R Us friends!! Today I am sharing an easy shaker card featuring a Sue Wilson Die. I hope you like it!


What I Used to Make this Card:
White Card Base
KaiserCraft Paper Pad, Rose Avenue, 6 1/2" x 6 1/2" {retired but available}
Sue Wilson Expressions Die, Hello, #CED5401 {out of stock, but this will work as well}
White Card
Foam Tape, doubled
Filler from Stash

This was an easy shaker card to make since the die I chose was rectangular; the hardest part

was cutting the foam tape!  I have a huge roll of foam tape I bought years ago at a convention and I consistently forget I have it; well, this time I remembered! Since the shaker fill has some little gems in it I doubled the foam tape, sticky side to sticky side, then cut it in about half to fit around the die thus allowing enough height for the fill to shake and not get stuck.  I chose sequins, gems and sparkly bits that didn't clash with the paper I covered the card base with. Once I made the shaker part of the card using the die cut, acetate, foam tape and the fill, I attached it to the base that I had covered with a pink paper with a geometric design lightly embossed on it, very pretty I think and the photos don't do it justice.

I certainly hope you enjoyed my card and that will encourage you to pull out some of your dies and make a card to join in on the monthly challenge; just be sure the die you use is from one of the companies Dies R Us carries {shouldn't be difficult, they carry everything!} and join in the fun!  Take care and stay safe! Until next time, Christi


Don't forget to come join in the fun at the Dies R Us Challenge Blog. There's a new challenge theme offered on the 1st and 15th of each month and one lucky randomly drawn winner will receive a gift voucher prize to the Dies R Us Store.  


For your convenience, all the important Dies R Us links are provided below.


click below for:

STORE

CHALLENGE BLOG

FACEBOOK

INSPIRATION BLOG

FRIENDS OF DIES R US PINTEREST PAGE

As I am stamping away with the NEW Lawn Fawn release I realized I hadn't entered this card in any challenges!! If my card doesn't meet the timeline for entering your challenge, please accept my apologies and delete it ~ Thanks!!  So, without further ado, I am entering my card in the following challenges:

Cardz TV, #150 - Anything Goes
Happy Little Stampers Anything Goes w/ Dies
Creations in Pink, #37 - Anything Goes in MAINLY Pink
Krafty Chicks, #578 - All Occasions
Creative Friday, #290 - Big Word as the Focus
A Place to Start, #9 - Patterned Paper
Creative Fingers, #215 - Anything Goes


Sunday, July 4, 2021

No Hearts or Mushy Stuff for River of Creativity

Hi everyone!!

I love a dry wit; sarcasm is how my family communicates with each other, so I have many years of experience and I think I have a fairly sharp wit.  When I saw this stamp, I laughed for a long time so I knew I had to have it!  I hope you like my card which I feel is a juxtaposition of a sweet looking card with a bit of biting satire.  This is also my July card for the River of Creativity Challenge which has a theme this month of No Hearts or Mushy Stuff - I think this card fits the bill :)


What I Used to Make my Card:
White Card Blank
Pre-Made Distress Oxide Background
Kuretake Gansai Tambi Starry Colors, #904 Champagne Gold {I have the Starry Colors set, available}
Reverse Confetti Double Stitched Window Cover Panel {not available at Reverse Confetti, but is available}
Picket Fence Studios I Snorted Stamp Set, #8142
Gina K Designs Amalgam Obsidian Black Ink
5mm Sequins

Making the Front
I began by adding some splatters of champagne gold watercolor paint onto the Oxide Ink background that I had already made and put aside since it didn't match the card I was making it for; once the splatter was dry, I cut the window panel out with the cover panel die.  I matched up the cover panel with the front of the white card base and then stamped the sentiment onto the card through the window of the oxide ink panel.   I attached the panel to the card, making sure the sentiment showed through the window and lastly, a few small sequins from my stash finished the card off.  

I think this is hysterical! I have already formulated many cards using this funny stamp set; plenty of opportunities to get my snark on!  I hope you have enjoyed my card and I would love to know about your favorite snarky stamp sets; please leave your answers in the comments.  

Thank you so much for stopping by to check out my card and I hope to see your no hearts and non-mushy cards {or any type of project} in the River of Creativity Challenge! Don't forget to follow us on Blogger and we are also on Instagram {tag your projects with #riverofcreativity and/or #rocnohearts03} and you can also join us on  Twitter at River of Creativity (RiverCreativity), why not subscribe to all three?

Any and all crafts are accepted and encouraged!

Fondly, 

Christi

I am entering my "So I danced" Card in the following challenges:
Simon Says Stamp Monday Challenge - Fun & Quirky
Just Us Girls, #591 - Word Week, Script
NBUS, #28 - The die and the stamp are brand new :)
The Corrosive Challenge - Anything Goes
Cardz for Gals, #150 - Get Inky
C.R.A.F.T. Challenge, #604 - Anything Goes


Wednesday, October 24, 2018

By the Pricking of My Thumb... 2018 Cat Lovers Hop, Day 3

"...something wicked this way comes," from good old Shakespeare, was the inspiration for this card.  I was lucky enough to grab this Joy Clair stamp set and I think it is PERFECT for Halloween! It has a bunch of spooky Halloween words on it, a skull banner, and much more.  Good score on my part!  I honestly had never heard of the brand until I spied these stamps and now I am adding more and more and more of their products onto my wish list.  Anyway, I knew I wanted to use the sentiment as soon as I saw it and here is what was born from just one stamp set.  


What I Used to Make my Card:
Purple Card Base
White Card
Joy Clair Spooky Greetings Stamps
Hero Arts Luna the Halloween Cat Stamps, #CM202
Hero Arts Luna the Halloween Cat Dies, #DI433
Ranger Archival Ink in Jet Black
Dimensional Dots
Sequins from Little Things from Lucy's Cards, Happy Haunting
Raindrops from Little Things from Lucy's Cards, Raindrops Mix
Wink of Stella in Clear
Another Look

I stamped a bunch of the kitties, as well as the cauldron, on plain white card.  The sentiment was also stamped, in the lower, left-hand corner, on a panel of white card.  Once the kitties and cauldron were stamped, they were cut with the coordinating dies.  I put the kitties in a circle, well, what's loosely based on a circle, around where I was going to place the cauldron.  I used a dimensional dot to pop up the cauldron in the center of the card, placed my circle of kitties around that, with one more kitty on the right hand side at the bottom.  

I was actually going to leave the card at that, but then I spied a bunch of little
The Sparkles Up Close
sparkly packages I had just gotten from Lucy's Cards.  I thought the sight of the cauldron hissing and spitting bubbles and what-not would really benefit the card so I used some of the sparkly gorgeousness from the little bags.  Once everything was attached to the white panel, I just glued that onto the purple card base and I was done!  Oh, wait, not quite done; I swirled around some clear Wink of Stella, just to add a bit more sparkle.


Thanks for joining me on Day 3 of the Cat Lovers Hop 2018!


You can check out all the details here {link to the FAQ and Info page}, at Her Peaceful Garden {this is the link to the main hop page}! Hope you can join in, there are tons of fabulous prizes!

I hope you enjoyed my tutorial and card.  I appreciate all your kind comments and thank you for stopping by! Fondly, Christi

I am entering my By The Pricking of my Thumb card in the following challenges:
2018 Cat Lovers Hop
Simon Says Stamp Wednesday Challenge - Halloween/Spooky
Die Cuttin' Diva's - #392, Halloween
{PIN}spirational - #227, Picture Inspiration {see below}
Simon Says Stamp Monday Challenge - Halloween/Spooky
Carlin's Card Challenge - M, #3, Cat + Black
Joy Clair - M, October Challenge, Inspiration Picture {see below}
Dies R Us Challenge - #107, Anything Fall
Lost Coast Portal - M, Halloween {see below}
Lost Coast Portal - #63, Cats & Dogs {see below} 


Saturday, October 13, 2018

Sending Hugs and Prayers. . .

A friend in one of the many Facebook groups has had to put her husband, who she has been with for 48 years, into Hospice.  When asked what we, as a group, could do for her, she requested cards.  This is the one I made for her:


What I Used to Make my Card:
Vanilla Card Base
Watercolor Paper
Zig Clean Color Markers
Simon Says Stamp Beautiful Flowers Stamp, #SSS101826
Hero Arts Stamp & Cut Sympathy, #DC183
Hero Arts Pink Tourmaline Ink {only available in the MMH December 2017 kit}
Ranger Archival Ink in Jet Black
Pink Cardstock
Sequins {from stash}

I began by stamping the flowers onto a panel of watercolor paper using black ink.  Then I colored the flowers using my Zig Clean Color Markers.  Once the flowers were colored, I sorted through my papers to find one that matched the flowers, then cut the word "prayers" using the die included in the Stamp & Cut set.

Then I stamped the rest of the sentiment using the Bubble Gum ink, placed various sequins around the card, {I used some clear, pink, and white sequins} and the card was finished.  I am very pleased with how the card came out and I hope that it brings some joy to her and her family.

I am awful at making sympathy cards.  I never know what to say, what to write, what colors to use; I generally work myself into a frenzy of complete and utter self doubt.  I tried something new making this one.  I chose a pretty stamp and
Another Look
just went with what felt right.  Since the recipient is a card maker herself, {and honestly, one of the most creative people I know} I worried about every little mistake I made.  Then I realized that she wouldn't be scrutinizing my card; she'd be gaining comfort that someone felt enough for her that they took the time to make it.  I really need to concentrate on that rather than the imperfections.  After all, when I get a card that someone has sent me, I KNOW what that person did; I know the concern, self doubt, the traps we set up for ourselves.  And I just enjoy the card.  I don't look for mistakes.  I feel happy and loved.  That is going to be my thing for 2019.  Enjoy the process and know I am going to make someone happy.  Isn't that what life is all about?


Thank you for stopping by to view my card.  I appreciate every one of you! Fondly, Christi

I am entering my Sending Hugs and Prayers card in the following challenges:
Sparkles Monthly Challenge - M, #108 - Use Dies and/or Punches
The Flower Challenge - #25, Add Sparkle
The Artistic Stamper - M, Inktober {and happy 8th Blogaversary!}
Dream Valley Challenges - #188, Flowers
Word Art Wednesday - Anything Goes
Scrapy Land - #99, Anything Goes w/ A brand they carry {Hero Arts}
Make It, Take It - M, Anything Goes
Colour Crazy Craft Challenge -  Anything Goes
Just Add Ink - #430, Inspirational Challenge, graphic below
Inkspirational Challenge - #171, Word Prompt - Comfort {graphic below}
Happy Little Stampers Anything Goes with Dies - M, Anything Goes {graphic below}


Thursday, March 1, 2018

Stinkin' Inkers Wishy Washi Challenge

** Yes, this posted early.  Yes, it is my mistake.  Yes, I'm sorry.  Please do join the challenge, due to begin Tuesday, March 7.  Meanwhile, Love is in the Air is still going until March 6!

Hello everyone! Let me just say I am not a washi tape person.  I didn't go crazy {unbelievable, but true!} and buy tons of tape when it first came out.  In fact, for the longest time all I had was the first batch made by Tim Holtz.  But, the more I saw the creative ways people used washi tape, the more that helped me slowly collect more.  I still don't have very many {not compared to some of you!} but I did score these beautiful glitter washi tapes at my Dollar Tree.  And then I saw the sequins that matched and had to buy those, too!  Out of those two supplies was born my "Wishy Washi" card for the March Challenge at Stinkin' Inkers


What I Used to Make my Card:
White Card Base
Scrap Paper
Washi Tape, Glitter Purple & Pink
Spellbinders Nestabilities, Curved Rectangles, #S5-006
Distress Ink in Wilted Violet
Sentiment by Riley & Co., Funny Bones, Supermodel, #RWD-399
Sequins
6mm White Craft Foam {Michael's}
Acetate
MISTI
Copic Markers that Match the Frame

Before I get into the card, I need to share this ENABLER alert! The dies I used to make this card are on sale at Spellbinders for $6.99! Regular price is $19.99, so that is a SUPER deal, even if it is getting discontinued!

First, I used a piece of scrap cardstock to layer the washi tape, alternating
the two colors.  The only issue with Dollar Tree glitter washi tape is that the
glitter isn't that great at staying on the tape.  I got glitter everywhere; and I am still finding glitter in places it has no business being.  However, the loss of glitter didn't effect the tape at all, so I guess that makes up for it. I looked on the Dollar Tree website and couldn't find any glitter washi but it's readily available elsewhere or you may be lucky and find some at your local Dollar Tree store.


I thought I'd show you how I make sure the frame of my shaker card matches up with the acetate.  Now, you don't have to be exact; I could have cut out a plain rectangle for the shaker window but I think it adds to the construction of the card if everything is as close to the same shape as can be.  What I did was use removable tape to hold the dies together so when I cut the frame and then the foam the dies stayed in the same place for both.  You can't really see the removable tape but I use it SO much I have a dispenser on the same table as my Big Shot.  It's cheap and I typically don't have an issue with it sticking when it isn't wanted.  I used the dies three times {the frame, the foam, and the acetate} and the removable tape worked wonderfully.  I know some crafters use washi tape to hold their dies in place; I tried that but promptly lost misplaced the roll I'd designated for that purpose in the mess on my die cutting table. Like I said, I have a dispenser - one of the old, heavy ones that teachers used to use in the classroom, and that's fairly hard to lose.


Once all my pieces were cut, I stamped the sentiment on the white card base, using my MISTI and the dies to ensure I placed it correctly.  I adore the whole Funny Bones line of Riley & Co.; they are just as snarky as I am!  Besides, who doesn't love a good giggle?  Before I assembled the card, I colored the edges of the craft foam cut out so the edges wouldn't stick out like a sore thumb.  I used Copic markers, but any alcohol ink marker will work {note: if you decide to do this step, make sure you are wearing latex gloves.  The alcohol ink takes a bit to dry on the foam and you don't want to end up with pastel finger tips like I did.} 
Another Look
As you can tell if you are a follower of mine, I love making shaker cards, and this one was a blast to make.  I hope you enjoyed my little tutorial and you should be breaking out your washi tape RIGHT NOW so you can join us at Stinkin' Inkers! Fondly, Christi

I am entering my Shaker Card in the following challenges:
Frilly & Funkie - Get in on the Action

Scrapy Land - Anything Goes
Craftaholics R Us - #9, Sequins
Simon Says Stamp Wednesday Challenge - Anything Goes (#2)
My Favorite Stamps - #374, Sketch Challenge
Die Cut Divas - M,  Monochrome
Stamps & Fun - Glitter
Time Out Challenges - Be Bold!
4 Crafty Chicks - #392, Anything Goes TWIST: Add a Sentiment

Saturday, February 24, 2018

Hedgehugs & Hearts

I got this set a while back but this is the first chance I've had to play with it.  I think these little animals are SO cute! I wanted to get in at least one more "love" card before the end of February. I hope you like my creation:

How I Made my Card:
White Card Base
Lawn Fawn Hedgehog Hugs Stamp Set, #LF729
Lawn Fawn Hedgehog Hugs Dies Set, #LF730
Cutter Bee/EK Success, Hearts, #54-80012
Ranger Archival Ink in Jet Black
MISTI
Red Card
Tim Holtz/ Sizzix, Labels, #660060
Tim Holtz/ Sizzix Skull Blueprint, #659375 {discontinued but available}
Craft Foam
Acetate
Sequins: Lips, Red & Iridescent {stash}

I actually had already colored these hedgehogs and they were just lying about on my desk.  I finally cut them out to use for this card. I got the idea to make a shaker, because, you know, I LOVE shaker cards {and the lip sequins were
Another Look
staring at me, having been on my desk since before Valentine's day}.


If you'd like directions on how I construct my shaker cards I have a detailed post here, which also includes a supply list; so I constructed my shaker heart and used the hedgehogs to decide on placement.  I stamped the sentiment on white card, cut it using the Labels die, then matted it using the die from Skull Blueprint, where the long rectangle is a wee bit bigger than that one in the Labels set.

I pinched a few sequins onto the center of my card and set the shaker heart over them - I let it dry overnight and there you have it! It only took me about 20 minutes to construct the whole thing, of course it helped that the hedgies were already colored.

You'll be seeing these cuties a lot more! They were super easy to color and I adore the sentiment.  I hope you like this card as much as I do! Please stop by again soon. ~Christi

I'm happily entering my Hedgehugs & Hearts card in the following challenges:
a2z Scrapbooking - M, It's a Love Thing
Crafty Animals - M, Anything Goes
Die Cut Divas - M, All You Need is Love, #3
Papercrafter's Linky Party - #4, Anything Goes
Mix it Up - #10, Anything Goes w/ Option of CAS
Alphabet Challenge Blog - X is for X-tra Special Occasion
Cut it Up - #142, Anything Goes
The Cat's Pajama's - #343, Animals
Double D Challenges - Woodland Creatures
Quick Quotes Challenge - M, Love


Saturday, January 13, 2018

Happy Purrthday

My very best friend is having a birthday this month so I thought it was a 'purr'-fect time to break out my new stamps and dies from Lawn Fawn.  Speaking of new, did you know that Dies R Us is beginning to carry other really cool products such as paper, inks, and about 1000 more different supplies?  Just pop over and take a look at all the new goodies and don't forget to check out the New Arrivals!


What I Used to Make my Card:
White Card Base
Blue Card {Core'dinations Sea Glass Paper Pack}
Lawn Fawn Meow You Doin' Stamps, #LF1315
Lawn Fawn Meow You Doin' Dies, #LF1316
Lawn Fawn Ready, Set, Snow Stamps , #LF973
Lawn Fawn Ready, Set, Shake Dies, #LF975
Acetate {I used an overhead projecter sheet}
Hero Arts Ink in Intense Black, Sapphire and Deep Blue
Sequins {stash}
Glitter {I used a chunky, glass type glitter from my stash}
Watercolor Paper
Derwent Watercolor Pencils
MISTI
VersaMark Ink Pad
6mm White Craft Foam {Michael's}
This is the actual foam I used.

ENABLER ALERT: The Core'dinations Sea Glass Paper Pack is still on sale, 50 sheets for $2.97! Just follow the link above and it will take you to Consumer Crafts.  Now, on with the post!

I love shaker cards and I LOVE the fact that they are SO easy to make now! Gone are the days of piecing tape together or scraps of dimensional dots! I could explain exactly how I made this card, but Kelly at Lawn Fawn has made an awesome video that explains the shaker card process - check it out!  In the video, Kelly explains how she used foam to make her shakers and I literally ran out right then to my local craft store {Michael's} looking for the 5mm foam she talks about.  I'm not sure if she got the size wrong, but there is NO 5mm craft foam, anywhere, that I could find.  Not even on Amazon! But, there was 6mm foam.  I wasn't sure if that one millimeter was going to foil my attempt to use the dies with it, but I bit the bullet and bought it anyway.  I am thrilled to say it worked perfectly.

I thought I'd show you a few of the steps for making the card just in case videos aren't your thing.  This is very photo heavy, so grab a drink and a snack.  I've made all these photos small so this post wouldn't take forever to load.  If you want any of the pictures to be larger, just click on it.

First, out of the 2 stamp sets, these are the stamps and dies you need to actually construct the shaker snow globe.
 
 I've stamped the globe on white card using black ink. 
 Now I've lined up the die with the stamped image and cut it out.
The front of the globe is cut and ready to go.
 Next, use the same die and cut your foam.
Next, cut your acetate cover using the same die that you used to cut out the back of the globe.  I enhanced this photo so you could see the acetate.
The next step is attaching your foam to the back piece of the globe.  Then, you want to attach your acetate to the front piece, so you essentially have two separate pieces of your card.  Then the fun part! Decorate the back piece with whatever you choose, then add the shaker bits; again, it's your choice.  I've used glitter, cut outs from cardstock, sequins, and beads.
If you live in a dry area, or just seem to attract static electricity, it could cause your shaker bits to clump together. Some people rub the sides of the foam with
an anti-static sheet, cornstarch, or baby powder and even use the little anti-static pouch you use when you wet emboss.  Once you have finished decorating the inside of your card (the back piece with the foam attached) simply add your shaker bits and attach the front of your card (the front piece with the acetate attached) to the back and you now have a shaker card!  Just a quick word about acetate - I've literally used the same package for years; I don't even know if they make it anymore.  I've used packaging leftovers, too.  Honestly, the packaging leftovers can be bulky and I found that it doesn't dry as flat as transparencies do, but I've seen many a successful shaker done with left over packaging.  You can literally purchase acetate sheets made for shaker cards as transparencies can be costly.

Now that you've made your shaker piece there are different ways you can use it.  There are some cute options in the Lawn Fawn video I referenced above; for this project, I attached the shaker piece to an A2 card.
The background I made

Now, since my friend lives on the East Coast and is currently getting pounded with snow, I didn't want to use the characters that came with the Ready, Set, Snow stamps.  Instead, since she loves cats as much as I do, I grabbed a cat from Meow You Doin'? set {which I had already colored and cut out} to use as the focal point.  I also added the cute little birthday hat that comes with the set.  Once the shaker portion of my card was done, I decided to add a layer of blue paper to the white card base.  I used the paw print and the can of cat food with the candle to make my own background paper using the VersaMark pad.  I love it!

Looking at the card now, I see I need a bit more practice putting the pieces of the shaker together, they're a tad wonky; but, as I always say, that's the beauty of homemade!
Another look with the Hero Arts inks I used.
I hope you made it to the end of my tutorial.  I appreciate your stopping by to visit and I hope you keep in mind that there is a NEW project posted daily on the Dies R Us Inspiration Blog.  Have a fabulous Sunday and I'll see you next week! Christi


Don't forget to join in on all the fun at the Dies R Us Challenge Blog.  
There's  a new challenge theme offered on the 1st and 15th of each month
 and one lucky  randomly drawn winner will receive a gift voucher prize to 
the Dies R Us Store.  For your convenience, all the important Dies R Us 
links are provided below.

 I am entering my Happy Purrthday Card in the following challenges:
Brown Sugar Challenge -M, Birthday, #274
Scrapy Land Challenges - M, Anything Goes, #81
Double D Challenges - M, Birthday/Anniversary Using the Mood Board {I used color and the general celebration}

Seize the Birthday - M, Anything Birthday Goes