Followers

Tuesday, July 27, 2021

Die Cut Doodle Rose Background

Hi Dies R Us friends! Did you know you can make a cool background using almost any die? I decided to give it a try using this cute Doodle Rose Wreath from Sue Wilson.  It's been hot here (and probably where you are, too) so I felt like a nice tropical aqua would be a nice, cool color to use.  I hope you like my card:


What I used to Make my Card:
White Card Base
White Card
Doodle Rose Wreath Die from Sue Wilson
Simply the Best Die from Sue Wilson
Dimensional Dots
Aqua Card
In progress

 The background was fairly simple; I just started cutting on a 5 1/2" x 4  1/4" sheet of white cardstock, once I was done, I trimmed it down to 5 1/4" x 4".  Some of the edges "lost" the flowers, so I took some of the cut out swirly pieces and glued them where the flowers would of been.  I put the aqua paper on the back, attached the panel onto the card base.  The sentiment was cut from the same aqua card and attached to a white back, trimmed down, which was then adhered to the card using dimensional dots.  The most important part was letting the back panel dry completely prior to trimming it so the flowers I added it didn't get torn off when I trimmed the card.  I think it came out really nice!
 
You can see the exact products I used in the picture on the right. There are SO many dies you could do this with, the possibilities are endless! You can visit the Dies R Us Inspiration Blog daily to learn all types of new and inventive ways to use your dies; my fellow teammates are very creative!  Thanks so much for stopping by and I will see you next time ~ fondly, Christi 


Don't forget to come join in the fun at the Dies R Us Challenge Blog. There's a new challenge theme offered on the 1st and 15th of each month and one lucky randomly drawn winner will receive a gift voucher prize to the Dies R Us Store.  


 For your convenience, all the important Dies R Us links are provided below.

 click below for:

STORE

CHALLENGE BLOG

FACEBOOK

INSPIRATION BLOG

FRIENDS OF DIES R US PINTEREST PAGE

I am happily entering my card in the challenges below:
Simon Says Stamp Wednesday Challenge - Anything Goes
Addicted to Stamps and More, #410 - Use Dies and/or stencils {entry 2}
Double D Challenges - Colors of Summer
Creative Moments, #219 - Anything Goes
HLS Anything Goes with Dies - Anything Goes
World Wide Open Design Team Challenge - Anything Goes


Thursday, July 22, 2021

Happy Everything!

 Hi everyone!! I felt the need to make a happy card and since I adore the Simon Says Stamp "All the Feels" release, especially the Slimline Florals stamp and die, it was the perfect set to turn to.   


What I Used to Make my Card:
White Slimline Card Base
Light Blue Card for Background
Simon Says Stamp Slimline Florals Stamps, #SSS202299c
Simon Says Stamp Slimline Florals Dies, #SSSD112349c
Lawn Fawn Scalloped Slimline w/ Hearts, Landscape, #LF2476
Watercolor Paper {I use this}
Simon Says Stamp 
Fine Detail White Embossing Powder
Zig Clean Color Brush Markers
Gina K Amalgam Ink Pad in Obsidian Ink

The first step to making this card was to make the slimline base.  I found a phenomenal cardstock to use for my card bases, suggested by Jennifer McGuire, called Accent Opaque White 8.5" x 11" Cardstock Paper, 120 lb. - I get mine through Amazon and I LOVE it! My cards are much sturdier now and the paper isn't too pricey; at least I don't think so.  So I used that paper to make my slimline base.  I cut the blue background paper with the Lawn Fawn die and set it aside.  I then stamped and colored the florals, die cut them once they were fully dry {I typically wait over night} and used them to figure out where I wanted to put my sentiment.  I heat embossed the sentiment onto the blue panel, glued the floral line to the panel and then the panel to the slimline base.  

I hope my post finds you and yours well and maybe brought a bit of color to your day.  Thanks SO much, Christi

I am entering my card in the following challenges:
Addicted to Stamps and More #410 - Die Cuts and/or Stencils
The Sisterhood of Crafters - Embossing
Simon Says Stamp Wednesday Challenge - Out with the Old, in with the New
Alphabet Challenge Blog - Use Happy in your Sentiment
Pammie's Inky Pinkies, #2129 - Anything Goes

Thursday, July 8, 2021

Christmas in July Blog Hop!

https://shoppingourstash.blogspot.com/2021/07/shopping-our-stash-449-christmas-in-july.html


Hello Crafty Friends and Happy Saturday! Today, The Paper Funday Challenges  and the Inspiration Station Challenges are hosting a Christmas in July Blog Hop! Please Hop along with us today for some fantastic holiday crafting inspiration and there are Prizes too!If you were directed here from Rocky's Blog  youre in the right place. Should you get lost, please start at The Paper Funday Challenge Blog.  Here is my card, my very first light up card ever!

The house lit up
And the house normal.

What I Used to Make my Card:
White Card Base
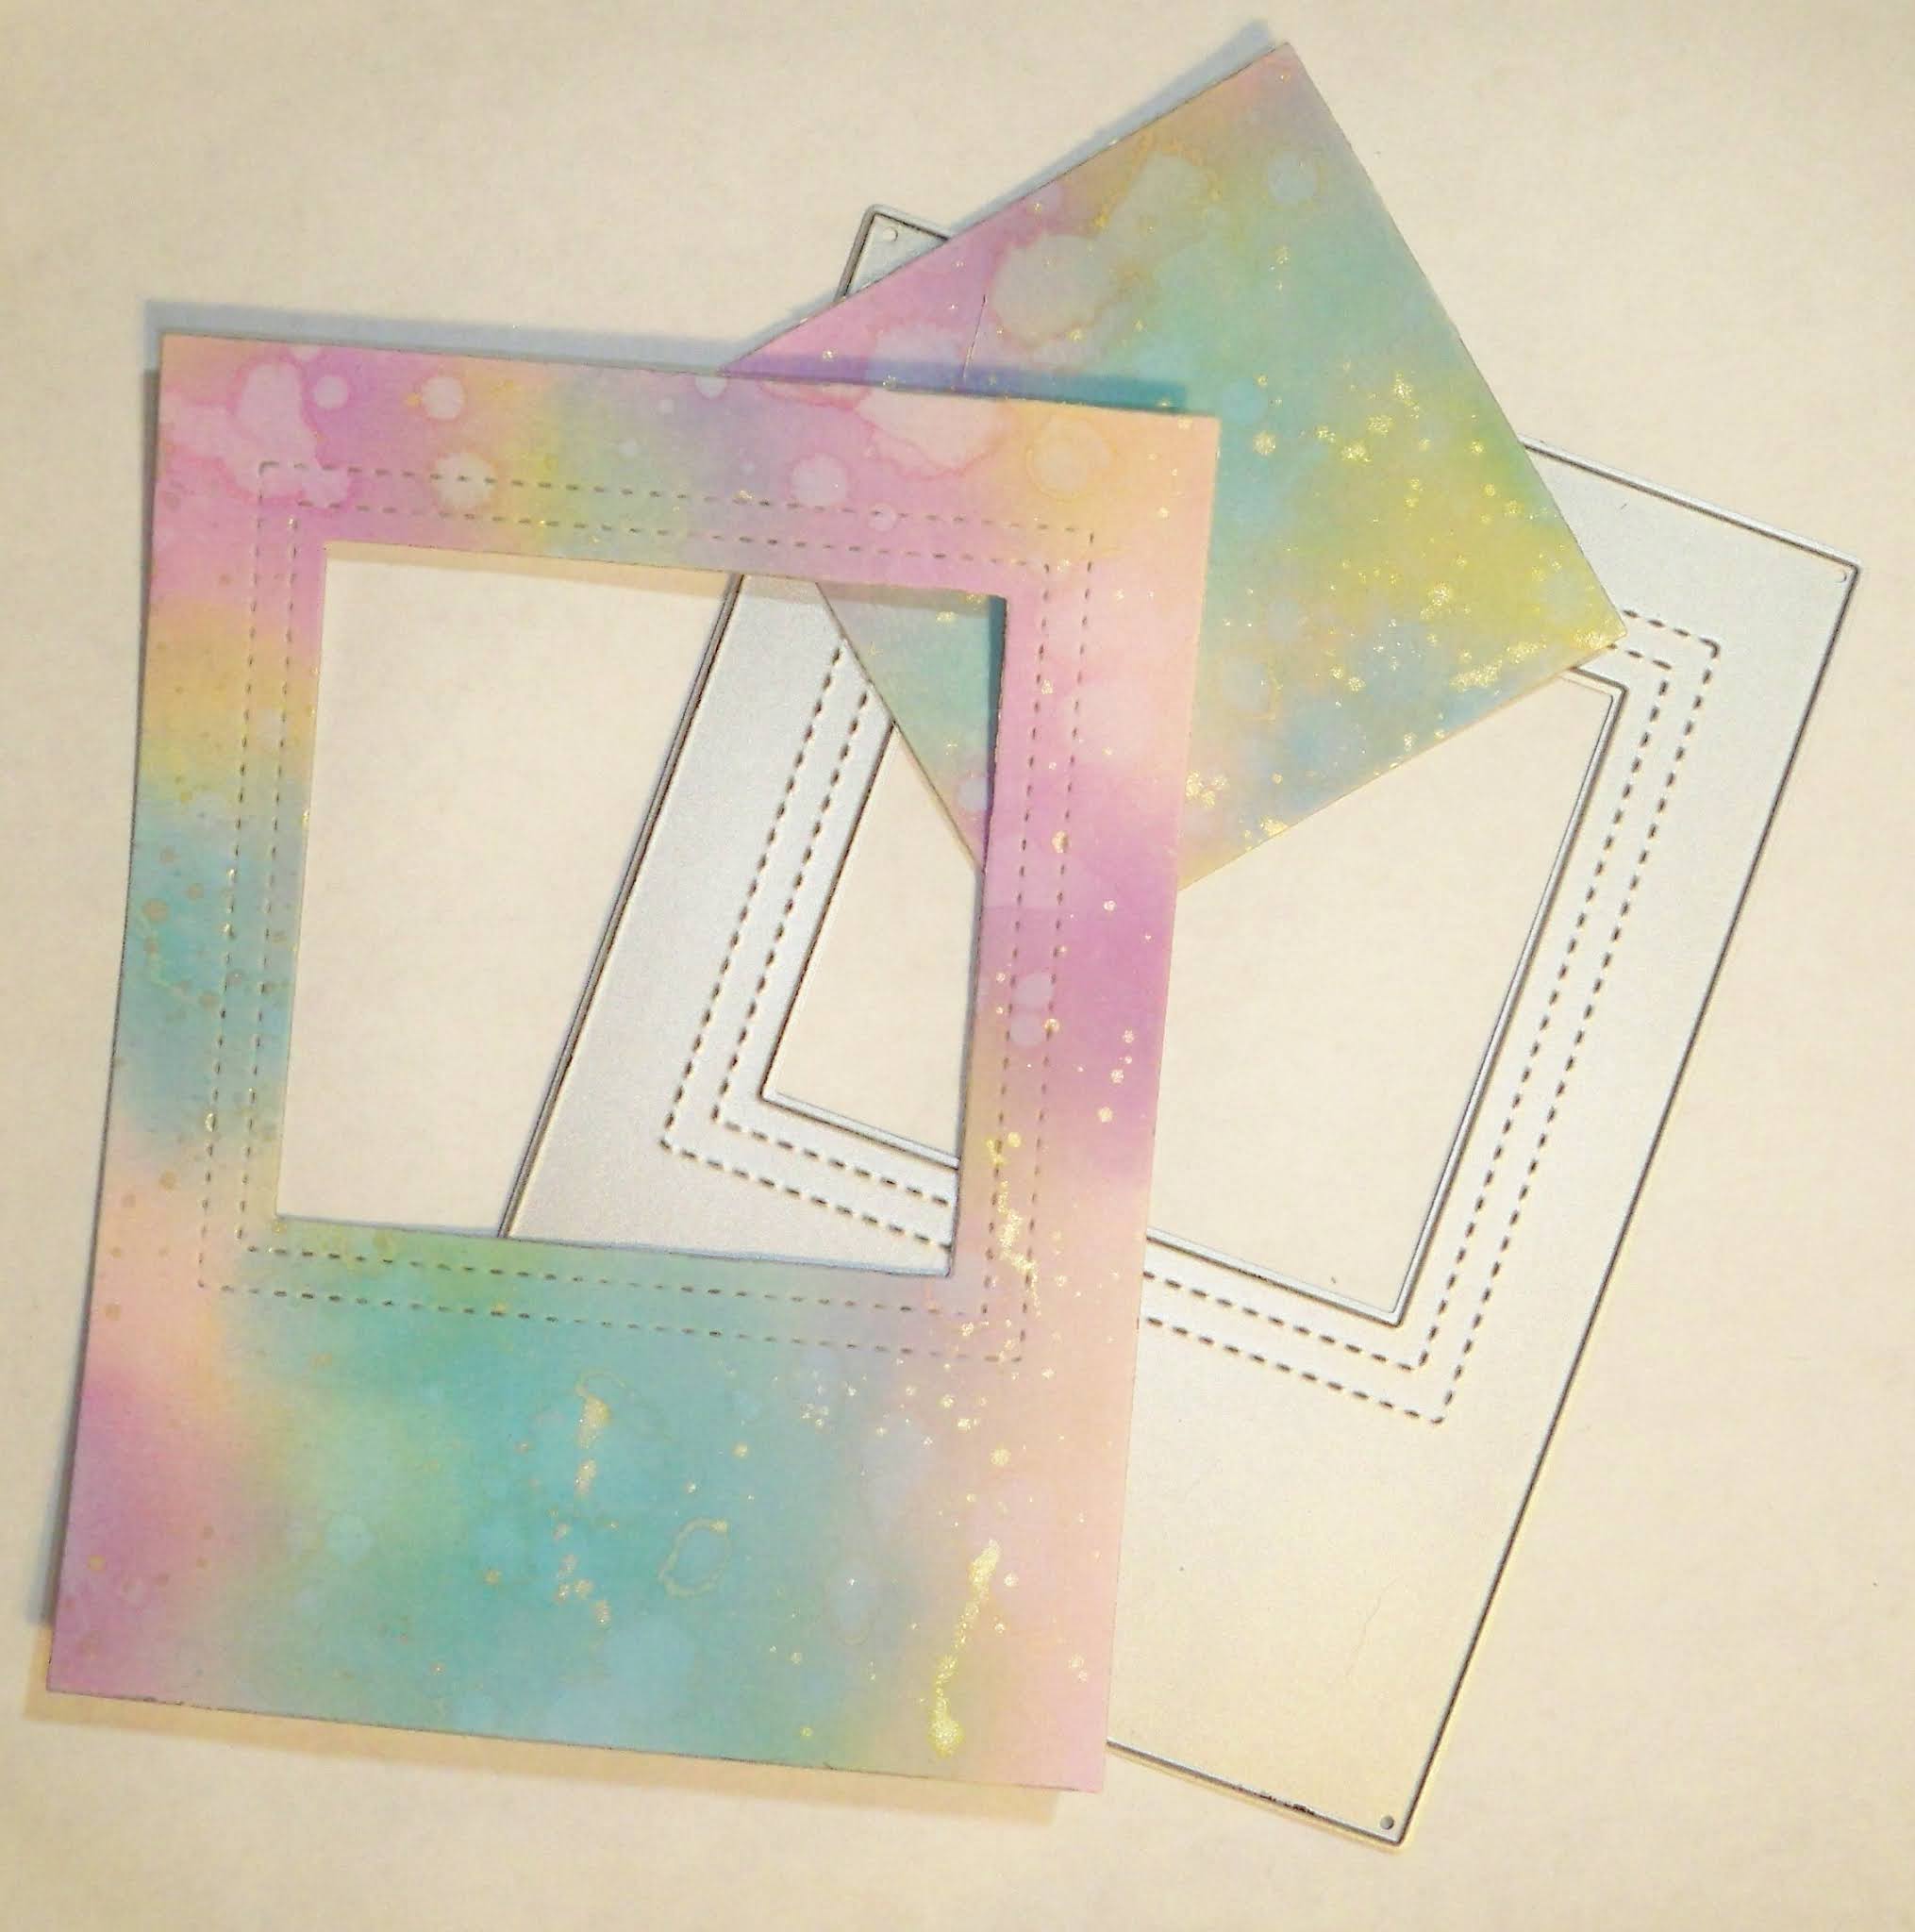
Pre-made Oxide Ink Background, splattered w/ Gansai Tambi Starry Colors, White Gold
Pear Blossom Press EZ-Light
Lawn Fawn Build a House Die Set, #LF2046
Lawn Fawn Build a House Gingerbread Add On, #LF2438
Lawn Fawn Build a House Christmas Add On, #LF2048
Lawn Fawn Stitched Hillside Backdrop, Landscape, #LF1502
Lawn Fawn Stitched Tree Borders, #LF1236
Lawn Fawn Toboggan Together Stamp Set, #LF976
Lawn Fawn Push Here Stamp Set, #LF1415
Glitter Card in White and Red
Various Shades of Brown
Scrap Vellum and Green Card

Now, it might seem a bit overwhelming when you look at the number of products I used; but most of them I only used a piece or two; I've explained what I've used from what set a bit further down. Once I had found the pre-made back piece, I splattered it with the White Gold watercolor paint then I set it aside to dry.  I began to figure out how I was going to assemble my card; I knew I wanted the window to light up and I knew I wanted to light that window by pressing the door {I don't know, it made sense to me to have the light go on if you pressed the door bell} so I cut a foam piece using the house die. I ended up cutting almost all of the inside of the foam piece out, similar to a shaker card, so save yourself some trouble and cut a slit in the bottom {since you won't see it anyway} and cut out most of the house part of the foam, leaving the window top shape intact and save that excess foam, you will need it later. 

The Pear Blossom EZ-Lights are a miracle product if you can't get the whole tape connection battery light concept, which I cannot.  All you need to do is insert the battery and press the little button and BOOM, you have light!  The EZ-Light comes with three little bulbs attached and plenty of wire so you can spread those lights out or cut them off if you don't want to use all three {which is great because I accidentally cut one off and I was concerned I'd set the house - both the card one and the real one - on fire}.  I meant to take a picture for you of the back of the house as it began to take shape, but honestly, it was SO ugly I just couldn't.  I glued the vellum to the foam window, then glued my house base {the brown card} over that as well as the rest of the foam base; like I said, similar to a shaker card.  I positioned the lights in the window and kept testing them so that they wouldn't look funny when they lit up and to figure the door placement.  I was worried that the recipient wouldn't press right on the button the card would not work, but that was no issue either.  I glued the lights down and the pressing mechanism down inside the foam and I had a working light!  

The rest of the card was really just the finishing touches; the sentiment came from the Toboggan Together stamp set, the wreath from the Christmas Add On, the trees were cut from the Stitched Tree Borders and I modified the Landscape version of the Hillside Backdrop to fit the portrait card.  And those left over pieces of foam were used under the steps and the chimney!  The bow on the wreath and the card behind the candy canes are Red Glitter Card, the hills and the icing is White Glitter Card.

Well, if you haven't tried a light up card yet I hope I took some of your fear away and I highly recommend the EZ-Lights.  I have tons of batteries, copper tape and all sorts of tiny lights that I hope to use someday when my brain finally recognizes how to actually complete a connection, but until then I have four more EZ-Lights to use; and who knows, I might just sell all that other stuff and stick to the EZ way out {see what I did there?} 

For this Hop, 6 prizes will be awarded to 6 randomly chosen commenters. To be eligible for a prize, you must answer this Question below: How many light up cards have I made? I have provided the answer in my blog post.

Thank you so much for reading this post, I know it was long but I wanted to share my struggle.  I sincerely hope you are enjoying the blog hop and next you will be visiting Anita, and should you get lost, you can start again at The Paper Funday Challenge .  Thanks again & until next time, Christi

I am entering my card in the following challenges:
Krafty Chicks, #567 - Christmas
DL Art, #281 - Christmas in July
Through the Purple Haze, #182 - Anything Goes or Christmas in July
Little Red Wagon - Midway to Christmas
Shopping Our Stash, #499 - Christmas in July
Creative Craft Cottage Challenge, #142 - Christmas in July
Incy Wincy Designs Challenge - Christmas in July


Tuesday, July 6, 2021

Pet Talk

Hi Friends of Dies R Us! Yes, another multiple card post - just a 2fer this time! I used some older Lawn Fawn stamps and dies, but the NEW RELEASE is now available at Dies R Us, just go to the website and choose NEW ARRIVALS {you'll find more than just Lawn Fawn - I have my eye on some of the great Visible Image sets}!!   Enjoy!


What I Used to Make my Cards:
White Card Base
Pink Card
Lawn Fawn Speech Bubble Backdrop, #LF1989
Lawn Fawn Critter Chatter Stamps, #LF1964
Lawn Fawn Critters at the Dog Park, Stamps #LF515, Dies #LF520
Lawn Fawn Meow You Doin'? Stamps #LF1315, Dies #LF1316 
Watercolor Paper {I use this}

Zig Clean Color Brush Markers
Gina K Amalgam Ink Pad in Obsidian Ink

Dimensional Dots
Pink Ink


I started these cards by cutting the backdrop out of white card and pink card, twice each.  Then I began to stamp the different dog and cat sounds on various white speech bubbles from the backdrop cut out which I then attached to my white card bases. I placed the stamped speech bubbles onto different spaces left by the die cut and filled in a few of the more empty spaces with the pink speech bubbles, leaving some of the spots empty.  The cat and the dog I used on the cards were previously colored and cut so I just added the dimensional dots to them and attached them onto the cards.  Lastly, I stamped the sentiments on white card, trimmed them and dotted them onto the card fronts.  I also stamped the small heart in pink ink and the paw print in black ink onto 2 of the smaller panels.  I like the look of the different levels created by the dots and the speech bubbles.  They are a different type of "I love you" card but every bit as important as the cards someone might get from humans; and a such nice way to say that your pets care about their pet parent {or aunt, grandparent, etc.} as much as you do!  

Thank you for stopping by to look at my work. I hope you and yours are doing well and are staying safe! I hope you had a fantastic weekend and see you here, at Dies R Us very soon!!  Fondly, Christi

 Don't forget to come join in the fun at the Dies R Us Challenge Blog. There's a new challenge theme offered on the 1st and 15th of each month and one lucky randomly drawn winner will receive a gift voucher prize to the Dies R Us Store.  

  For your convenience, all the important Dies R Us links are provided below.


click below for:

STORE

CHALLENGE BLOG

FACEBOOK

INSPIRATION BLOG

FRIENDS OF DIES R US PINTEREST PAGE

I am entering my "Pet Talk" cards in the following challenges:
The Sisterhood of Crafters - Anything Goes
Paperminutes, #699 - Small Animals
Simon Says Stamp Monday Challenges - Fun & Quirky (entry #2)
Fab 'n Funky Challenges, #531 - Anything Goes
Cardz for Gals, #150 - Get Inky
Crafting Happiness, #103 - Anything Goes

Summer Fun at The Paper Funday Challenge

 Hi everyone :)  This is my card for the July challenge at the Paper Funday Challenges - I hope you get inspired to get your summer on and join us! The challenges are ALWAYS anything goes, with an optional twist and for July I used our twist, which is Summer Fun.  What's better than hanging out in a hammock with a tropical drink?

What I Used to Make my Card:
White Card Base
Tumbled Glass Oxide Ink
Assorted Cardstock Colors {as needed for sand, sun, etc}
Lawn Fawn Stitched Hillside Pop-up, #LF1270
Lawn Fawn Den Sweet Den Stamps, #LF2409
Lawn Fawn Den Sweet Den Dies, #LF2410
Watercolor Paper {I use this}
Zig 
Clean Color Brush Markers
Gina K Amalgam Ink Pad in Obsidian Ink
Lawn Fawn Watercolor Wishes 6" x 6" Paper Pad, #LF1355 {outside of hammock}
Lawn Fawn Hammock & Trees, #LF1979
Lawn Fawn On the Beach Stamps, #LF1953
Lawn Fawn On the Beach Dies, #LF1954
Lawn Fawn Four Square Backdrop, Portrait, #LF2065 {sun & clouds}

As I always do I had stamped, colored and cut out the images I planned to use on this card.  I set them aside and began making the body of the card, using Oxide Ink directly onto the card base to make the summer sky; I then trimmed down the Hillside Pop-up to get a nice, sandy hill for my bear to relax on.  I attached the hill, then proceeded to cut out all the other elements; the trees, coconuts, hammock, sun and such.  I assembled the card and put the sentiment on it and I was done! I love the idea of the bear just hanging out, sipping her drink as the tropical breeze gently flows by; until she is interrupted by her cubs who are screaming in the water for her attention! Poor bear.

I hope my card gives you some ideas of Summer Fun and I hope to see you entering our Summer Fun {or Anything Goes} Challenge at Paper Funday! Hugs, Christi

I am entering my card in the following challenges:
Lawn Fawnatics, #104 - Summertime Fun
Allsorts Challenge, #631 - Sun, Sand and/or Sea
Craft Rocket Challenges, #83 - Summertime
2 Crafty Critter Crazies, # 52 - Anything Goes w/ a Critter
Crafty Animals, #52 - Anything Goes w/ an Animal
Simon says Stamp Wednesday Challenge - Hello Sunshine


Sunday, July 4, 2021

No Hearts or Mushy Stuff for River of Creativity

Hi everyone!!

I love a dry wit; sarcasm is how my family communicates with each other, so I have many years of experience and I think I have a fairly sharp wit.  When I saw this stamp, I laughed for a long time so I knew I had to have it!  I hope you like my card which I feel is a juxtaposition of a sweet looking card with a bit of biting satire.  This is also my July card for the River of Creativity Challenge which has a theme this month of No Hearts or Mushy Stuff - I think this card fits the bill :)


What I Used to Make my Card:
White Card Blank
Pre-Made Distress Oxide Background
Kuretake Gansai Tambi Starry Colors, #904 Champagne Gold {I have the Starry Colors set, available}
Reverse Confetti Double Stitched Window Cover Panel {not available at Reverse Confetti, but is available}
Picket Fence Studios I Snorted Stamp Set, #8142
Gina K Designs Amalgam Obsidian Black Ink
5mm Sequins

Making the Front
I began by adding some splatters of champagne gold watercolor paint onto the Oxide Ink background that I had already made and put aside since it didn't match the card I was making it for; once the splatter was dry, I cut the window panel out with the cover panel die.  I matched up the cover panel with the front of the white card base and then stamped the sentiment onto the card through the window of the oxide ink panel.   I attached the panel to the card, making sure the sentiment showed through the window and lastly, a few small sequins from my stash finished the card off.  

I think this is hysterical! I have already formulated many cards using this funny stamp set; plenty of opportunities to get my snark on!  I hope you have enjoyed my card and I would love to know about your favorite snarky stamp sets; please leave your answers in the comments.  

Thank you so much for stopping by to check out my card and I hope to see your no hearts and non-mushy cards {or any type of project} in the River of Creativity Challenge! Don't forget to follow us on Blogger and we are also on Instagram {tag your projects with #riverofcreativity and/or #rocnohearts03} and you can also join us on  Twitter at River of Creativity (RiverCreativity), why not subscribe to all three?

Any and all crafts are accepted and encouraged!

Fondly, 

Christi

I am entering my "So I danced" Card in the following challenges:
Simon Says Stamp Monday Challenge - Fun & Quirky
Just Us Girls, #591 - Word Week, Script
NBUS, #28 - The die and the stamp are brand new :)
The Corrosive Challenge - Anything Goes
Cardz for Gals, #150 - Get Inky
C.R.A.F.T. Challenge, #604 - Anything Goes